baking instructions: bake at 500 degrees in a 9×13 glass dish for 10 to 12 mins or until edges are crisp.
What You Need:
1 pack of active dry yeast (2 1/4 teaspoons)
1 tablespoon of sugar
3 tablespoons of olive oil plus more for coating
3 3/4 cups of flour plus more for dusting
1 1/2 teaspoon of salt
Steps:
1. Whisk together 1 1/3 cup of warm water (you don’t want the water hot, it will kill the yeast) and the sugar. Then mix in the yeast and allow to sit for 10 mins until mixture is a little foamy and bubbly. Once the ten minutes are up add the tablespoons of olive oil.
2. In another large bowl mix together the flour and salt. Creat a well in the middle and add the water and yeast mixture. Knead dough for a minimum of 5 minutes adding more flour if necessary until dough is smooth and stretchy.
3. Divide dough in half creating 2 dough balls. Brush each dough ball with olive oil, placing each piece of dough in a bowl covered with plastic wrap. Allow to rise for an hour and a half.
4. Once dough is done rising freeze one and prepare the other. Rub olive oil all over a 9 x 13 glass dish. Arrange your dough in the glass dish leaving some space in the corners to spread. Add your sauce, seasonings, and toppings.
5. Bake at 500 degrees for 10 to 12 minutes or until nice and crispy on the edges. Remove pizza from glass dish and place on a charcuterie cutting board and serve while hot.
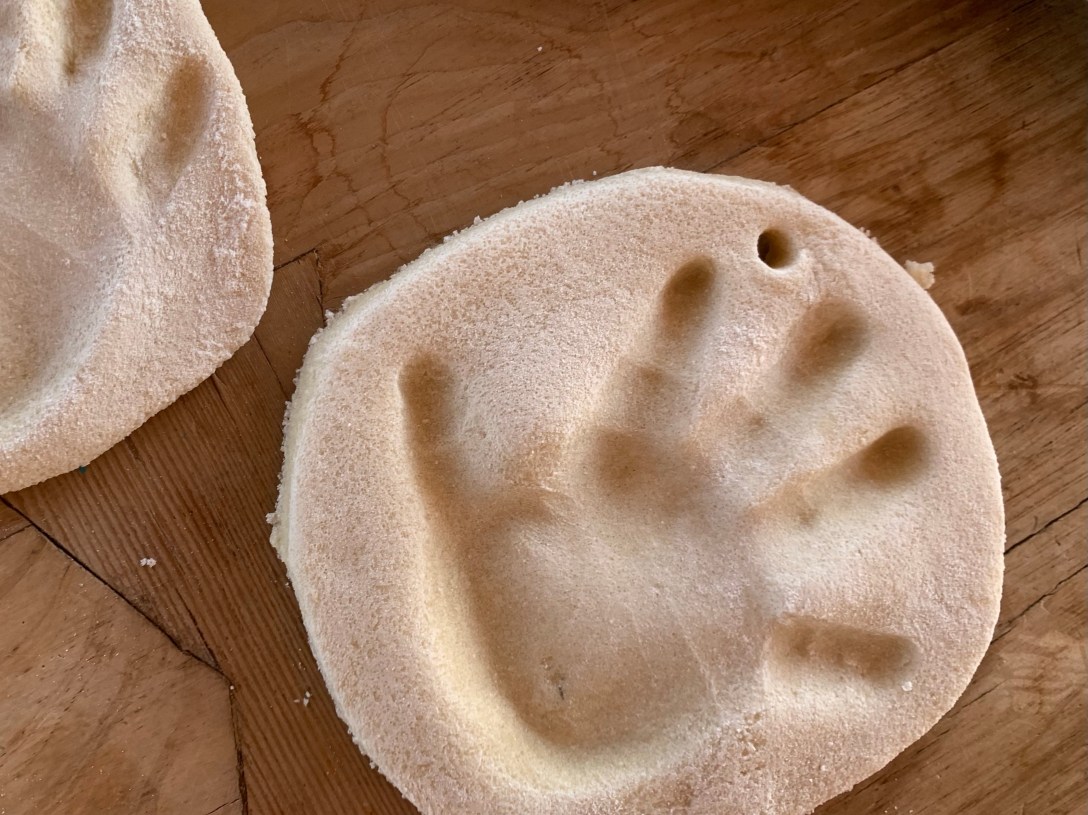
Servings: 4 small handprints or 6 small ornaments.
What You Need:
1 cup of salt
1 cup of Flour
1/2 cup of water
Steps:
1. Combine all ingredients and knead dough for just a couple of minutes.
2. Roll out and do hand prints or use cookie cutters to make ornaments.
3. Bake at 200 degrees Fahrenheit for 2 hours.
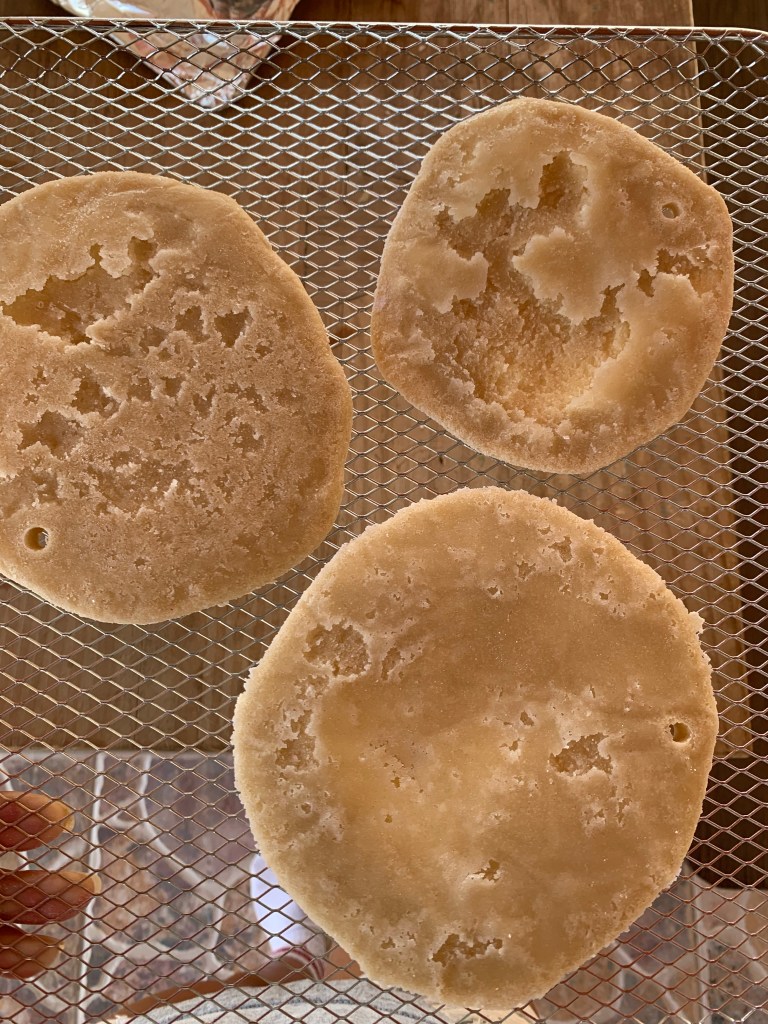
Note: use parchments paper, NO FOIL when baking. See picture below.
The mistake when using foil. The back of the handprint didn’t fully bake. How the front looks and it should look all the way around. Learn from me! Use parchment paper and not foil.
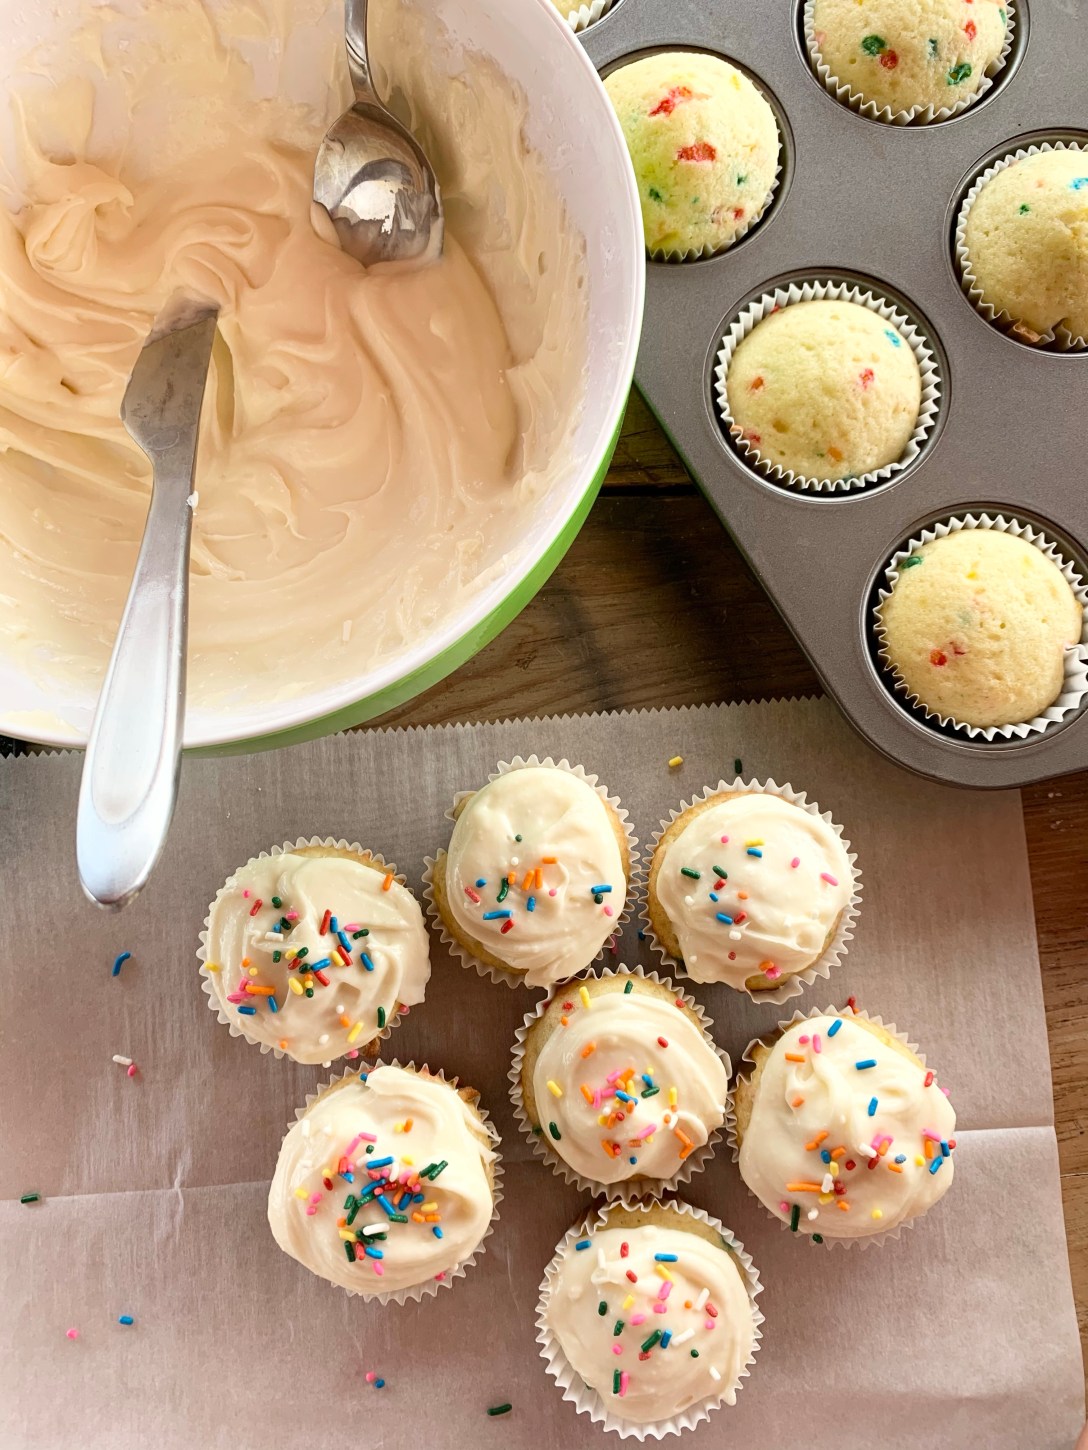
This amount of frosting is good for 24 cupcakes or a 9×13 size cake. There may be a little extra just to eat! Yum!
What You Need:
1 8oz pack of cream cheese (softened)
1/2 cup (1stick) of unsalted butter (softened)
2 teaspoons of vanilla extract
1 1/2 cups of powdered sugar
1/4 teaspoon of salt
A small squeeze of a lemon (optional)
Steps:
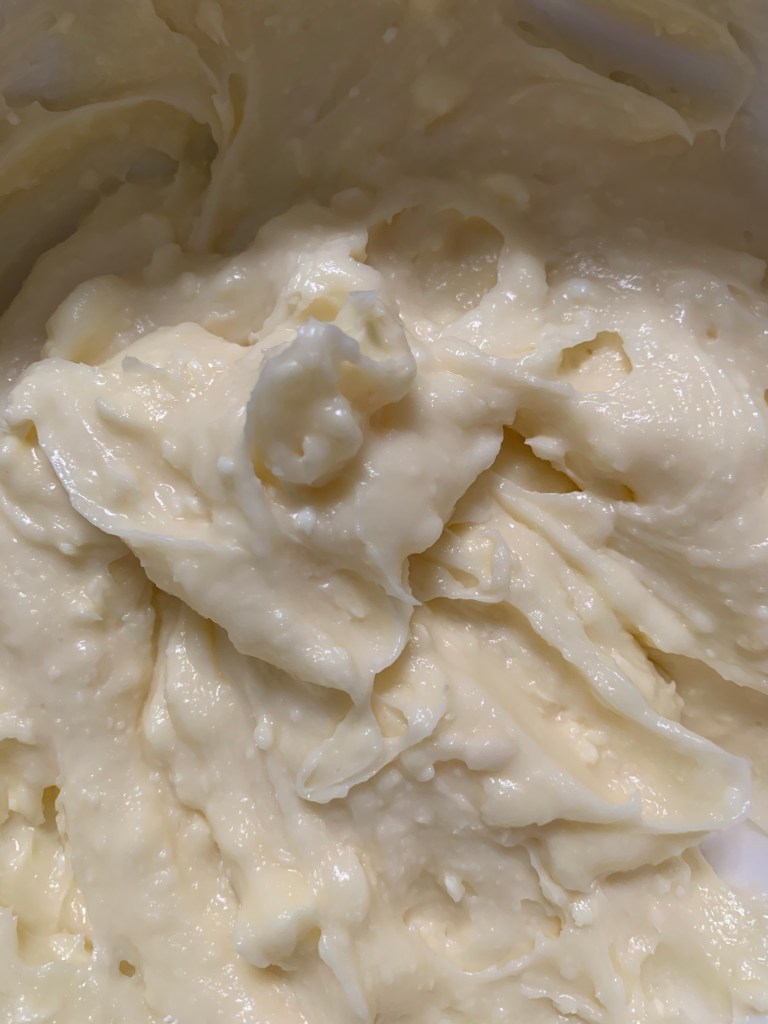
1. Combine all ingredients into a medium sized mixing bowl except for the lemon. Mix well until smooth and creamy.
2. Now take the lemon and squeeze just a little bit of lemon juice to give the frosting a sweet tangy taste. Mix well. Taste, and add more if needed.
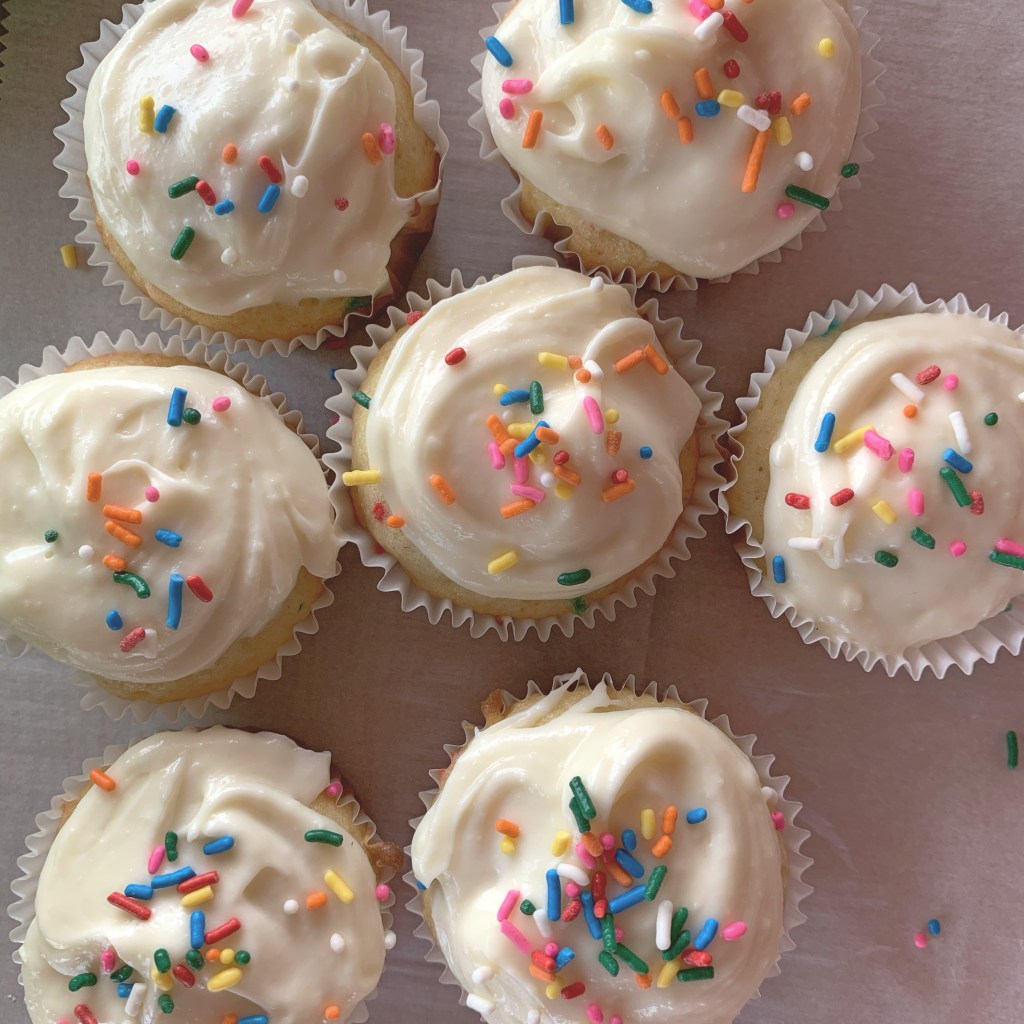
3. Spread on cupcakes, muffins, breads, whatever your little heart desires.
Note: store any left over frosting in the fridge. Frosting is good for 3-5 days.
If it’s looking like this picture below the cream cheese or butter may not have been softened enough. No worries though! Just let the frosting sit out for a bit. Then mix again with an electric mixture.
A little lumpy, I knew the butter wasn’t soft enough!
I let it sit out and then we re-mixed it. Smooth and creamy, just what we wanted!
Affiliate Disclosure: This post contains affiliate links. If you purchase through my links, I may earn a small commission at no additional cost to you. I only recommend products I genuinely love and believe in. Thank you for supporting my blog.
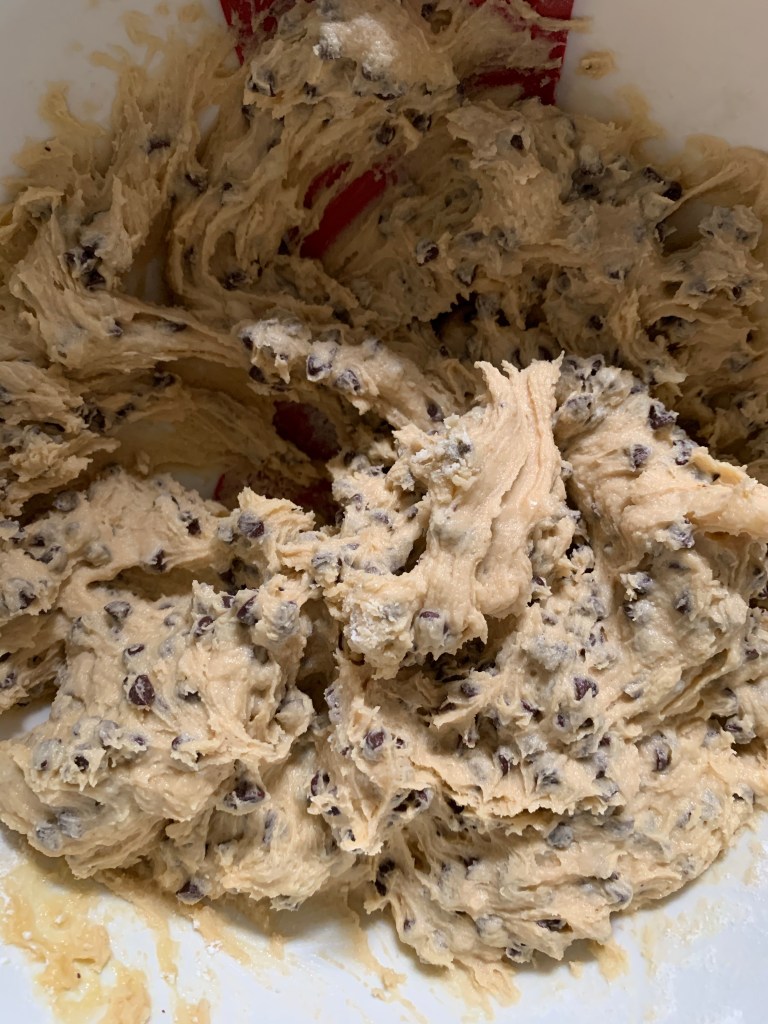
1. Blend together both sugars and softened butter. Add eggs and vanilla extract. Set aside.
2. In a separate bowl whisk together the flour, salt, and baking soda.
3. Combine the wet and dry ingredients together and add bag of mini chocolate chips.
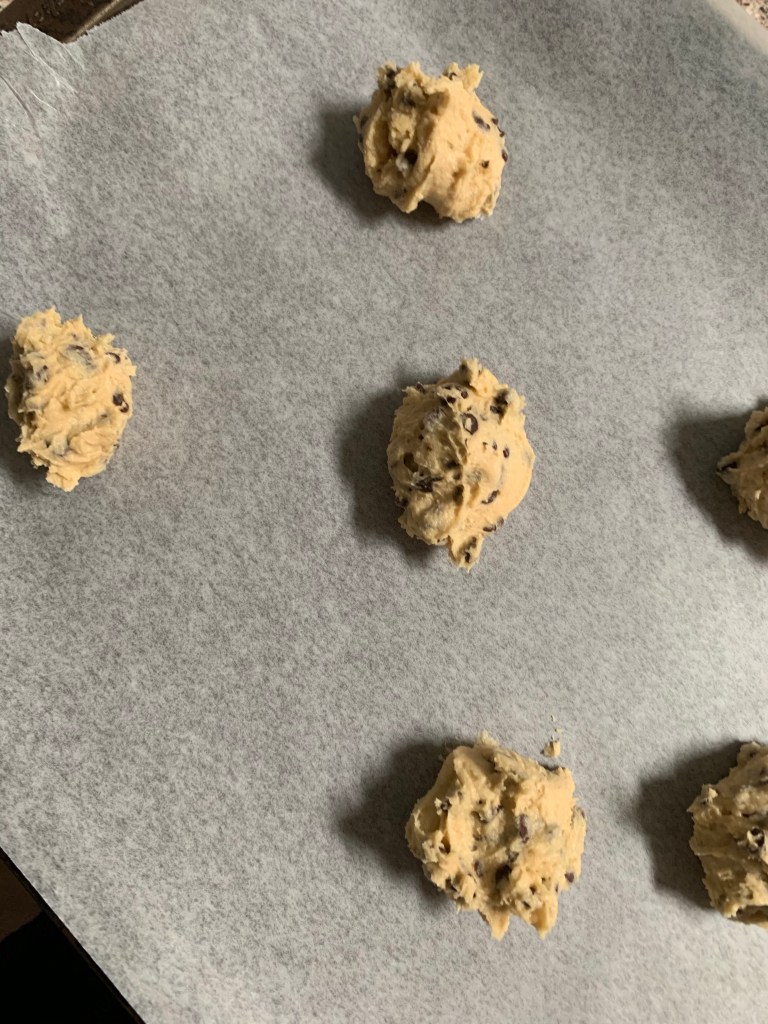
4. Scoop tablespoon size of cookie dough onto cookie pan.
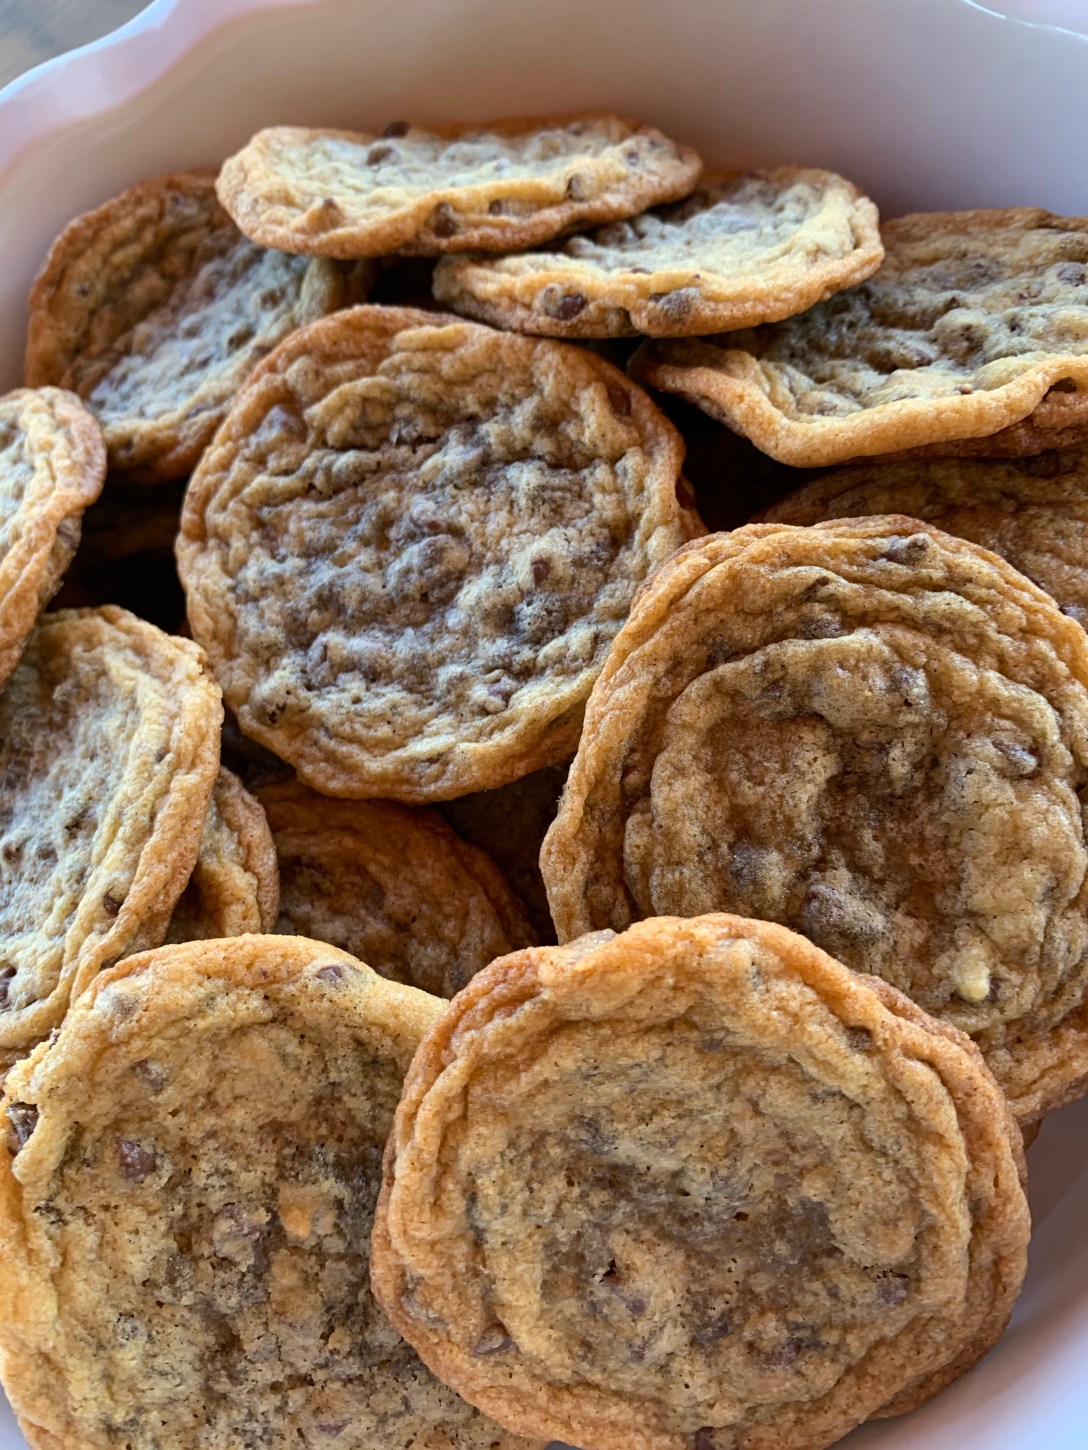
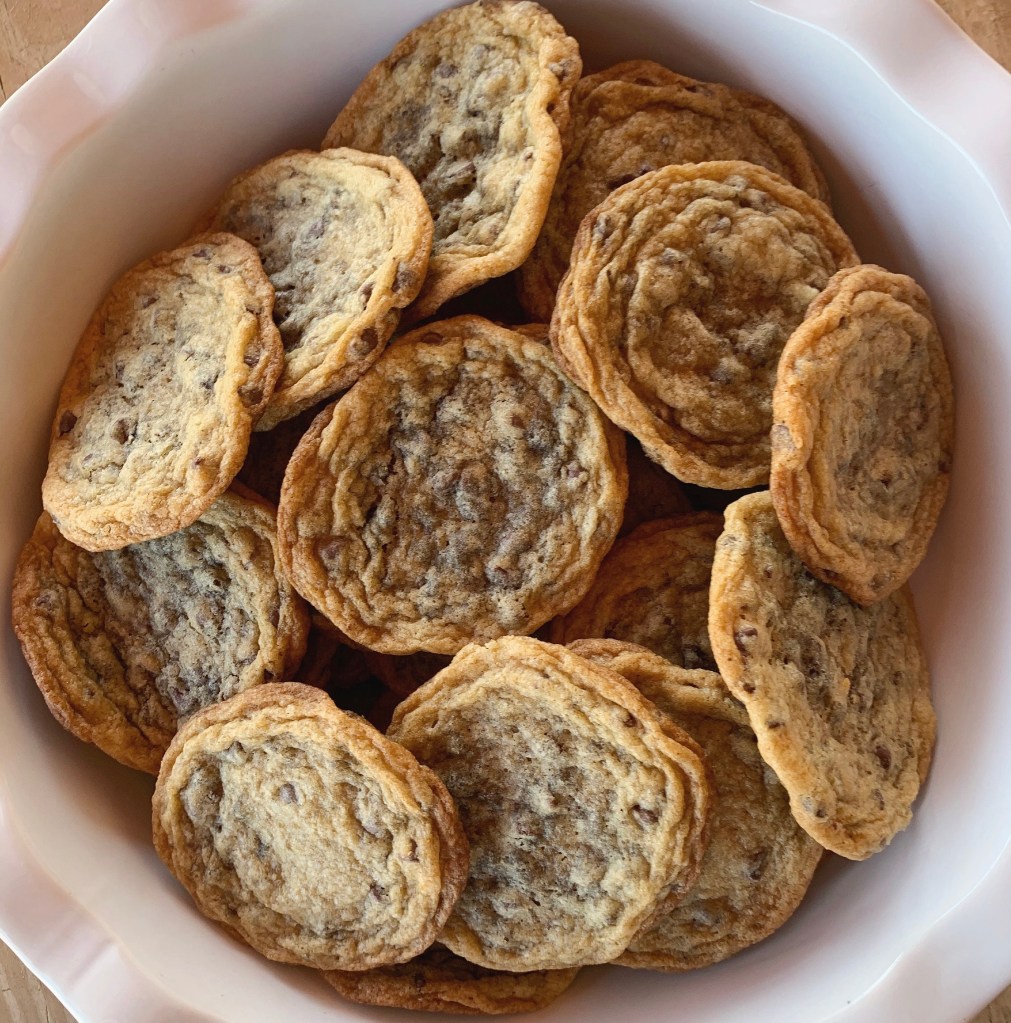
5. Bake at 375 for 8 to 10 minutes. (Oven time may vary. 8 minutes worked for mine.)
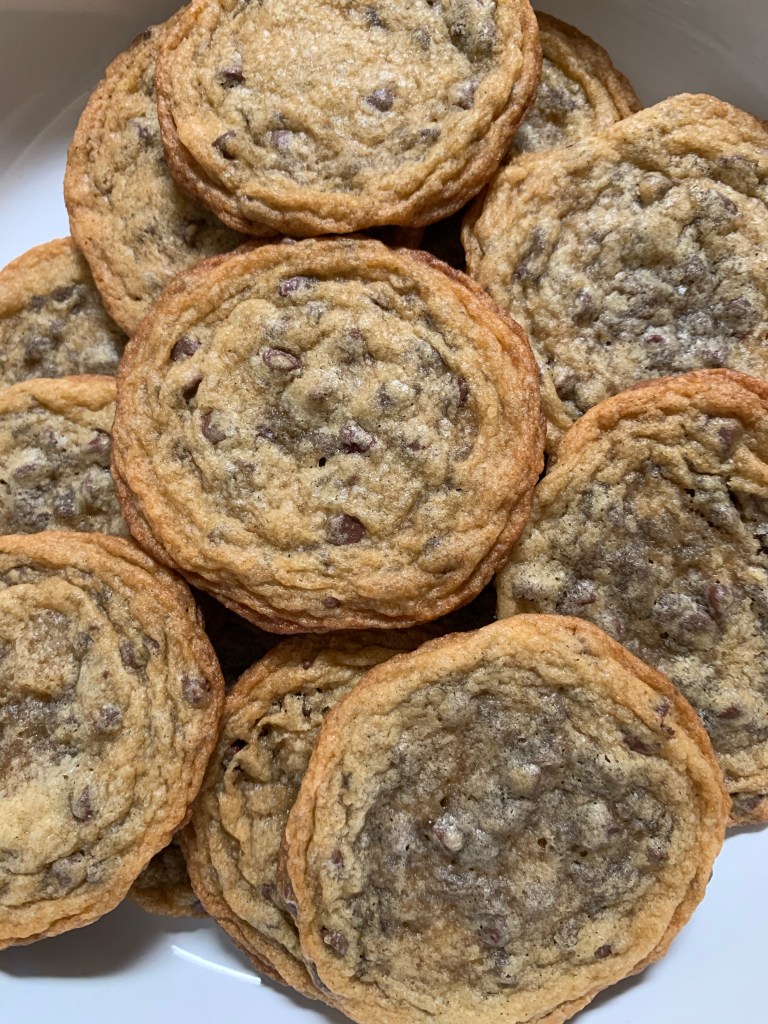
TO GET THE RIPPLES
Take the cookies out 2 to 3 minutes before they are fulling done baking. With both hands (with oven mitts on) beat the pan against the counter a few times. Don’t be too gentle, have fun with it. You will see with your eyes the ripples begin to form. Place back in oven to finish baking.
Set on cooling rack when complete.
Notes: cookie dough can be stored in fridge for 2 to 4 days. If you choose to freeze the dough I would recommend no longer than 2 to 3 months.
This cookie dough is so good!I used a measuring tablespoon and a spoon to place the dough on the sheet. Enjoy!
Makes between 20 to 25 cookies (depending on desired size)
Bake at 350 for 8 to 10mins (oven time may vary)
What You Need:
1 cup of all-purpose flour
1 full stick of softened unsalted butter (8 tablespoons)
2 cups of rolled oats
1/2 cup light brown sugar
1/4 cup pure maple syrup
1/2 cup granulated sugar
1 egg
1/2 teaspoon baking soda
1/2 teaspoon baking powder
1/4 teaspoon salt
3/4 cup chocolate chips (I used dark, but you can use semisweet too)
1/2 teaspoon vanilla extract
Steps:
1. In a medium size bowl mix together oats, baking powder, baking soda, salt, and flour.
2. In a large bowl beat with an electric mixer the brown sugar, the stick of butter, and granulated sugar until combined. Beat in egg. Then beat in maple syrup and vanilla extract. Once it’s all combined begin beating in the flour mixture. (Can use hands when it begins getting thicker)
4. Once mixture is set add chocolate chips and mix well. (If you have kids this is fun for them to mix with their hands)
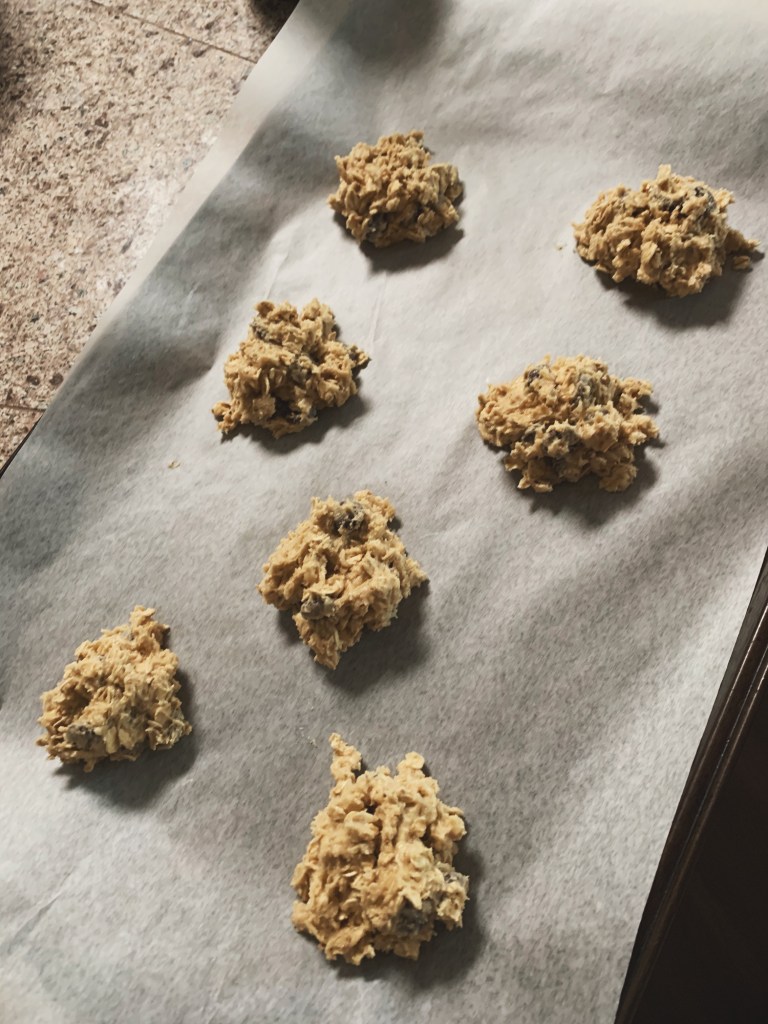
5. Place generous dollops of oatmeal batter onto parchment paper. Bake at 350 for 8 to 10 mins.
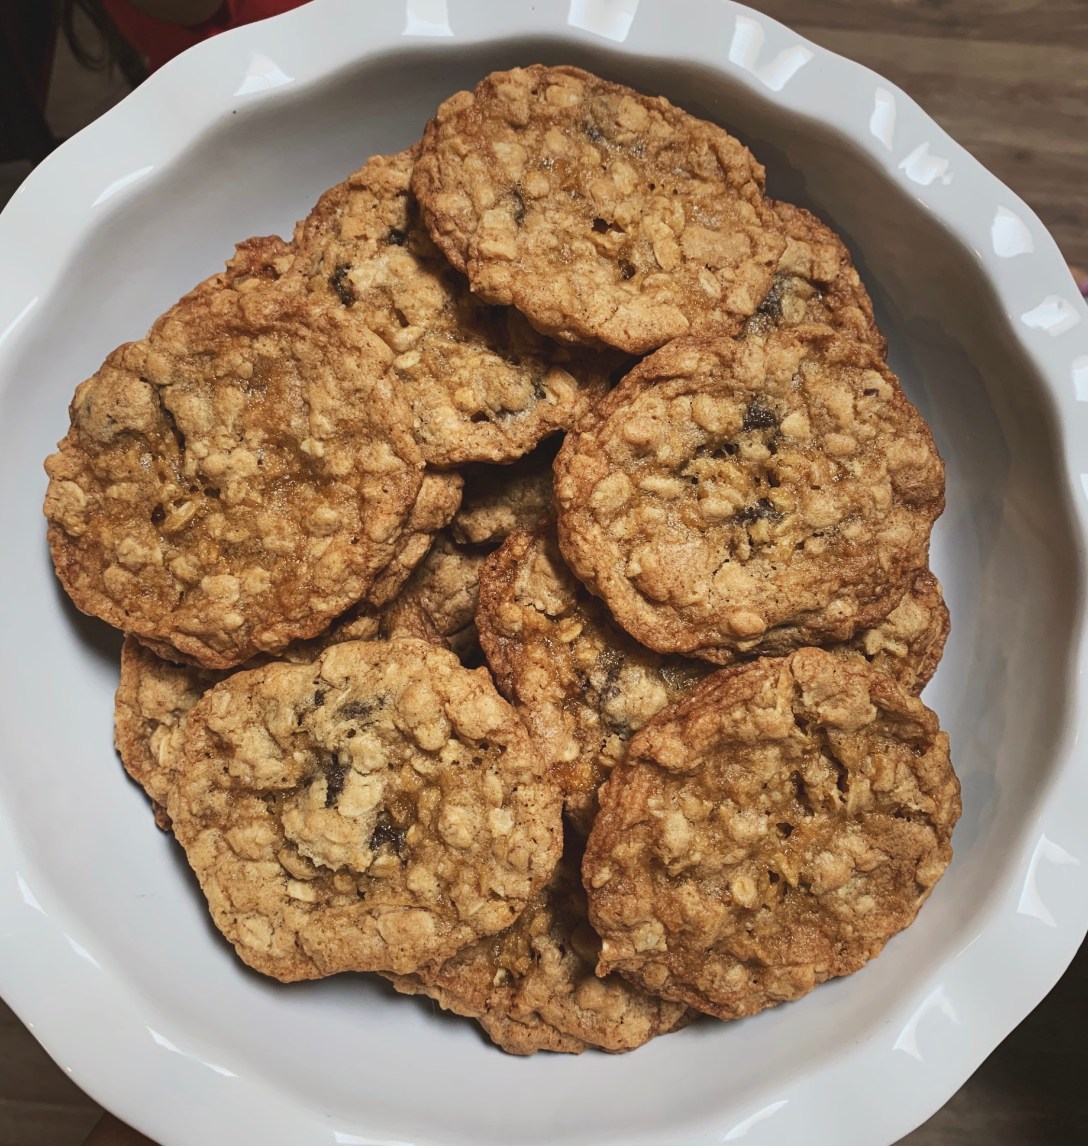
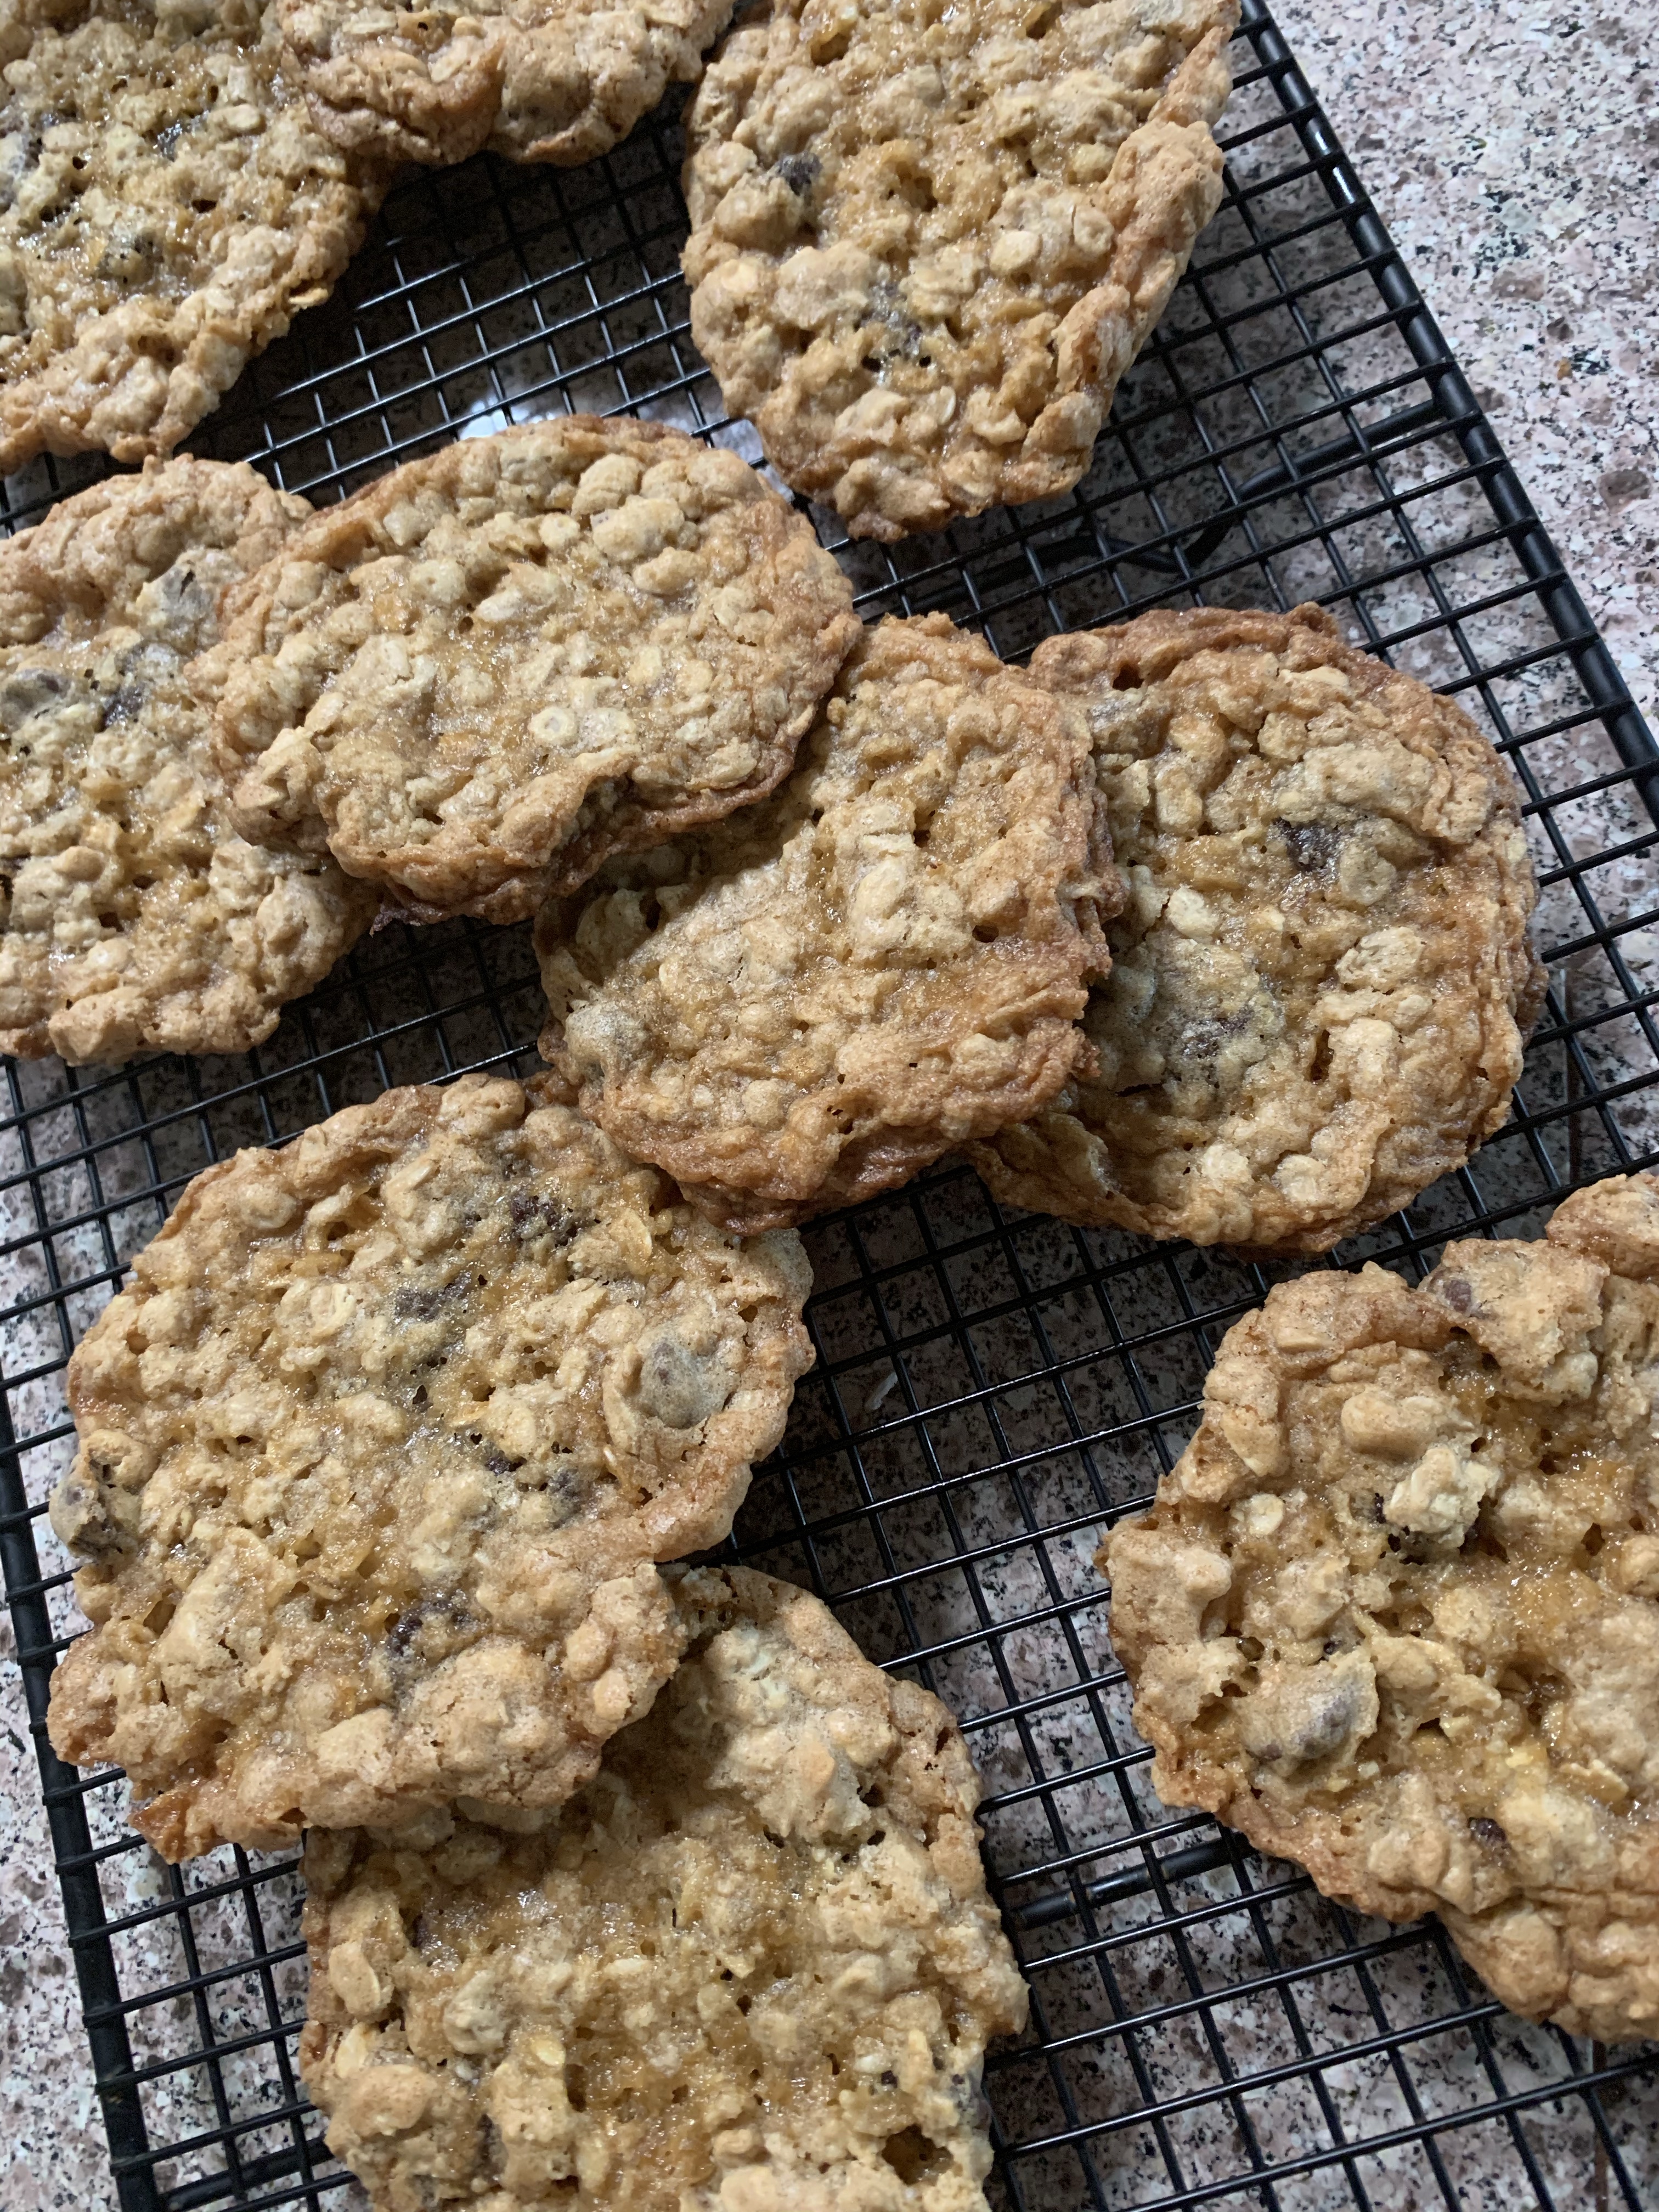
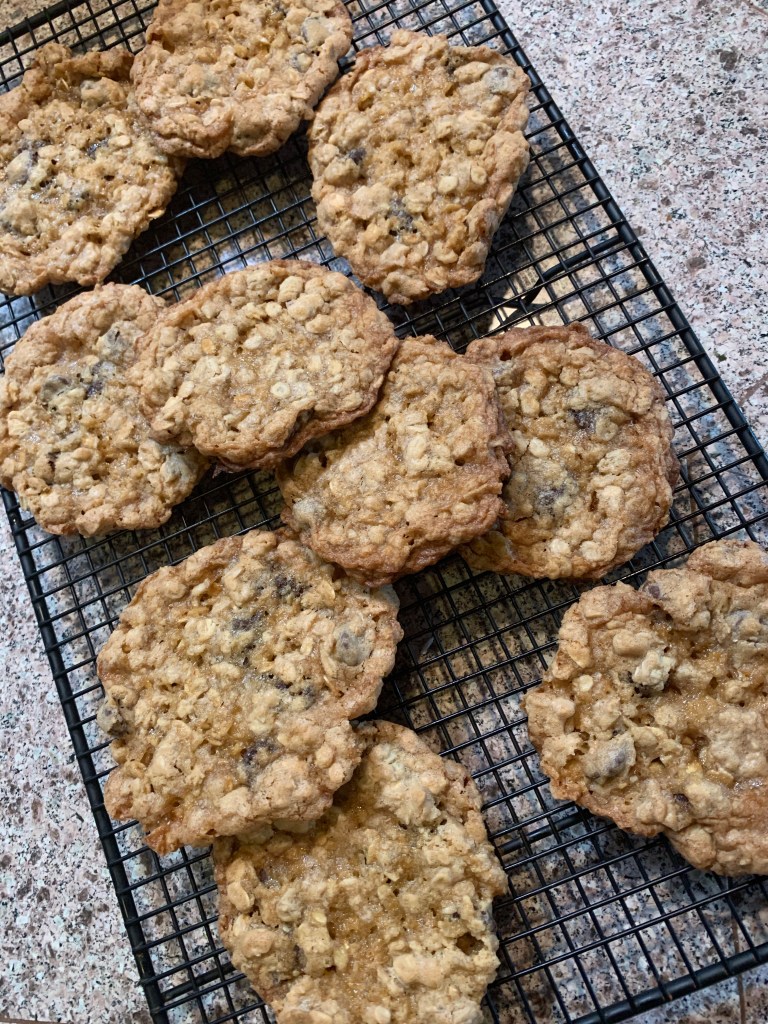
Note: when taking the cookies out of the oven beat the tray on the counter a few times to enhance a chewy soft texture. So yummy. It needs to be done RIGHT AWAY once pulled out.
ALSO, I personally bake one tray at a time on the high rack. This recipe made about 3 trays for me.
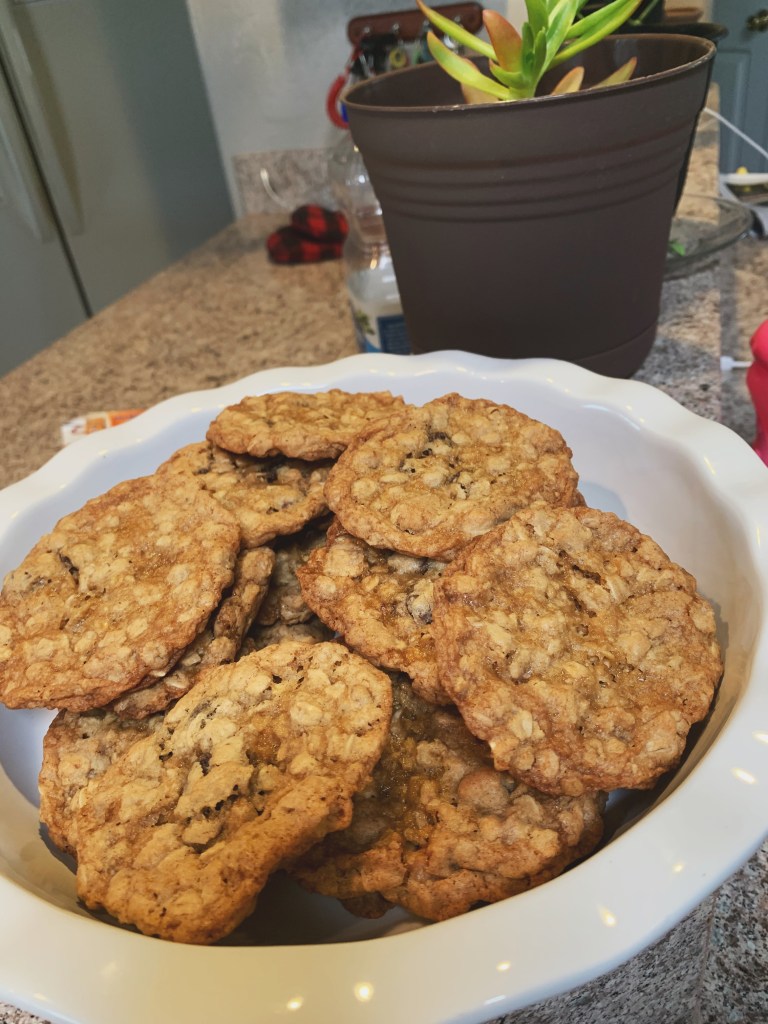
When placing on cookie sheet keep in mind they don’t need to be perfect. Glob it up!Fresh from the oven. I really feel beating them on the counter makes the difference. Let me know how it works for you! Do it once you pull them out!Crispy AND chewy. Not overly sweet either! Enjoy with a glass of milk and share with friends.
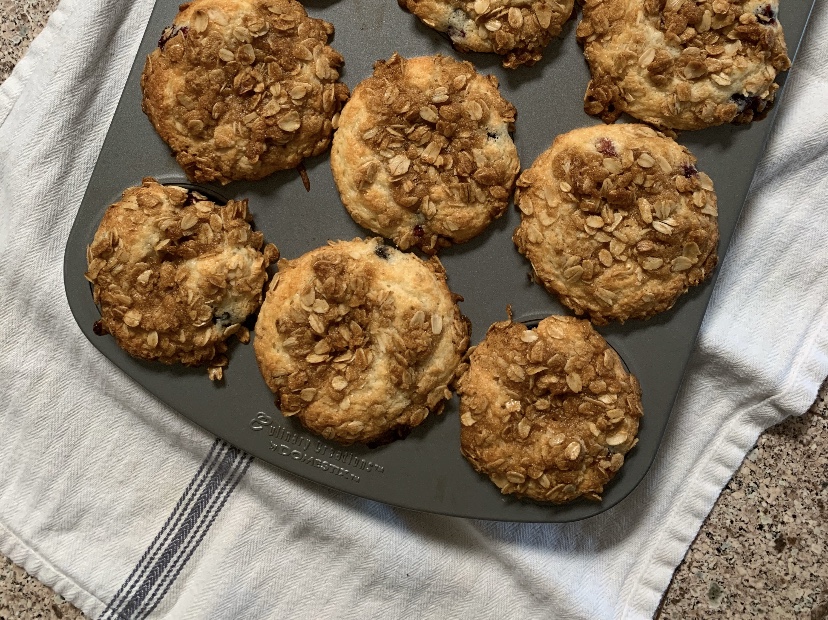
Pair this muffin with a cup of coffee or make some for your friends & family!
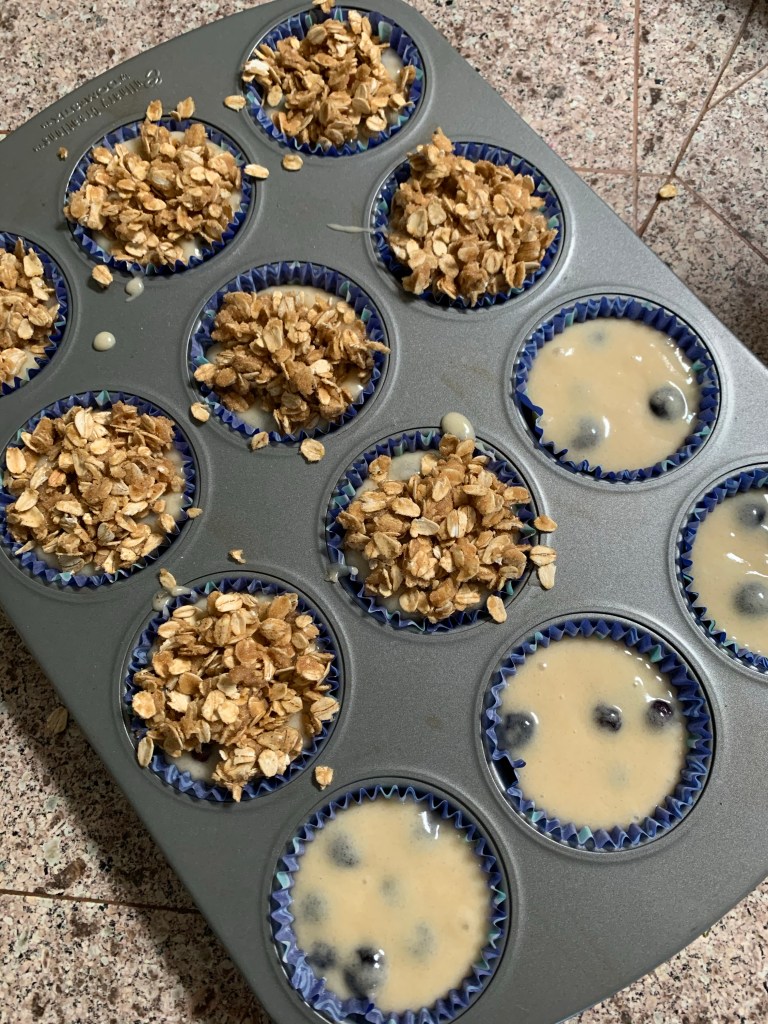
Blueberry Muffins With Oatmeal Streusel Topping
Oven: 400 Makes: 12 muffins Bake: 15-18 mins oven time varies
Insert toothpick and when it comes out clean then it’s complete
What You Need For Muffins:
1 3/4 cups of flour
1 1/4 cup of sugar
2 teaspoons baking powder
1 beaten egg
1/4 teaspoon salt
3/4 cup of milk
1/4 cup of vegetable oil
3/4 cup fresh blueberries
What You Need For Oatmeal Streusel Topping:
3 tablespoons of brown sugar
1/4 teaspoon of cinnamon
A dash of nutmeg (optional)
2 tablespoons of butter
3-5 tablespoons of rolled oats (if you don’t want to use oats you can use flour)
Steps For Muffins:
1. Combine flour, sugar, salt, and baking powder in large mixing bowl. In another small mixing bowl combine beaten egg, milk, and oil.
2. Make a well in the middle of the flour mixture and then add egg mixture. Mix until completely combined. Then add fresh blueberries to mixture.
3. Spoon batter into muffin tins, then sprinkle streusel topping on muffins. Bake at 400 for 15 to 18 mins.
Serve with softened butter. Absolutely delish.
Steps For Oatmeal Streusel Topping:
Combine the oatmeal, brown sugar, cinnamon and nutmeg in a small bowl. Add butter until the mixture becomes crumbly. Sprinkle onto muffins before baking.
When I originally wrote this blog I focused on toddlers. However this still applies to kids in grad school!
Okay, let’s be real for a second. It really isn’t that hard to entertain a toddler. You give them an empty box and it’s the best thing ever. If you’re really feeling spontaneous give them a role of toilet paper and let them go crazy, they’ll get some giggles from that, seriously lol.
My point is, if you do a search for activities for toddlers you get a list of crazy sensory activities. It honestly overwhelms me. I know without doubt my toddler would absolutely love to do those activities. However, I personally just don’t have the patience to do all of it. I would have to go buy supplies, which means I would have to go to the store, and then come home and….yeah you get my point.
Call me lazy, but I prefer simplicity. With it being so hot this summer I need simple activities.
Below I have put together a simple list to do this summer with your toddler broken, into 3 categories.
Things To Do Outside
Things To Do Inside
Things To Do When You Have The Time, Money, Or Energy
sidenote: Mama, don’t feel you need to constantly entertain your toddler. Allow them to be bored and learn to entertain themselves. Letting them learn to entertain themselves enhances their imagination and creativity.
And some days, they will just want to watch movies or youtube ALL DAY. Let them. We all like to have lounge days sometimes, even toddlers.
THINGS TO DO OUTSIDE
SplashpadPool
Do a search in your community. Typically they are free to the public and a great way for your toddler to get wet and wild. Bonus is they will take a long nap afterwards!
2. During The Weekend Find A FREE CONCERT
You’d be surprised how many places have free concerts. Check events on social media and ask around. There’s a lake near where we live and they host summer evening concerts. Families come, bring snacks or pizza, and let their kids observe and dance!
3. “Paint The Garage”
Get a bucket of water, and some paintbrushes. Let your toddler dip the paintbrushes in the water and fling or “paint” your garage. They can see the water strokes and they really think they are painting. Harmless, clean, easy fun! Fun with sponges too!
4. Bubble FUN
I think we forget sometimes how much toddlers love bubbles. Make it a game and encourage them to pop the bubbles as fast as they can. You can find a cheap bubble maker at Walmart for like 9 bucks.
5. Go Fishing
Toddlers love new things and trying new things. We bought our girls fishing poles before a camping trip we went on. Before we actually took them real fishing my husband let them play with their poles. They spent a good hour just casting the string out and reeling it back in, in the front yard. So if there’s not a lake near you, let them pretend!
6. Play With Chalk
You can get so creative with chalk! It’s especially fun with you wet the chalk first and then start chalking the side walk. A fun way to explore tons of colors too!
7. Invest In A Water Activity Table
For my girls 3rd birthday we got them a water activity table from amazon that came with a few water toys. They can splash the water, pour cups, put their toys in, and it’s just a fun activity that doesn’t make a huge mess. The water dries and when you’re done, pour the water out. Perfect for those hot days when you want to get outside.
8. Get a Plastic OR Blow Up Pool
Perfect for those days when you don’t want to leave the house but you want your toddler to burn some energy. Sometimes a kiddy pool is more fun then an actual pool because you’re in the comfort of your own home.
9. Let Them Play With The Water Hose
Because this is just a classic summer activity. My toddlers have an absolute blast with the water hose. My husband gets a little mad because they make a mess getting water over everything lol, but they have so much fun with something so incredibly simple.
THINGS TO DO INSIDE
Build A Fort
Take the cushions of the couch, bring out the blankets and pillows, get the mattress off the bed! You can get extremely creative with this and it’s an easy clean up!
There was a time where I took our mattress and had half of the mattress on the floor and half of it on the actual bed. It became a slide for my girls and they had SO MUCH FUN climbing on the bed and sliding down the mattress. That is pure, cheap, entertainment.This kept them occupied for quite some time let me tell you.
2. Turn Some Music On, AND DANCE
Who cares if you don’t dance well, your toddler isn’t going to judge you. Your toddler will love dancing with you. Bonus- you’re also working out. #momwin
3. Do A CRAFT
Don’t make this too complicated. Let them create art with finger paint or let them make a macaroni necklace. Keep it simple mama.
4. Make Rice Krispy Treats
They will love you forever first of all, and this is something really fun they can help with.
5. GET YOUR TODDLER A WATER DOODLE MAT
Just trust me on this. It’s the best ever. You can buy these mats on amazon. Check out the reviews!
6. READ BOOKS
Need I say more. Buy some puppets and have them read. Become extremely animated as you read them a story. A great way for your toddler to learn and for you to bond together.
THINGS TO DO WHEN YOU HAVE THE TIME, MONEY, OR ENERGY
Go To The Movies
Visit a Museum
Take Them To a Trampoline Park or Some type of Kid Zone
Take Advantage of “toddler time” at specific places
Visit the library Or A Barnes And Noble
Wishing you a cool summer! xoxo
What will you be doing this summer with your toddler! Drop it in the comments!