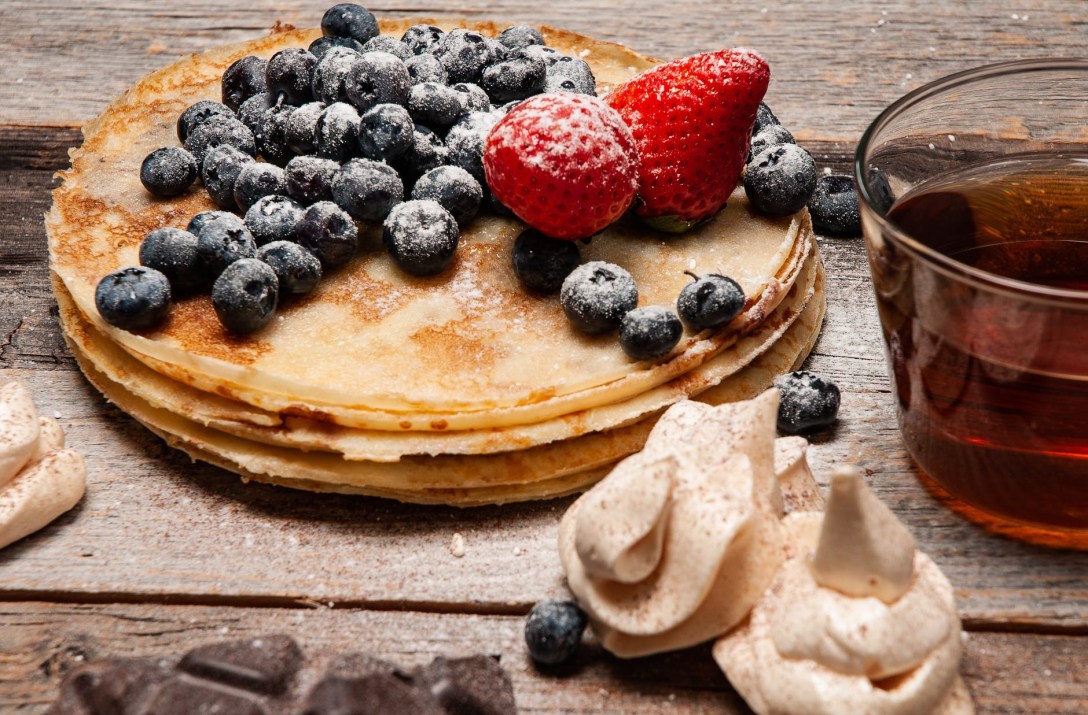
Sometimes you want to make pancakes only to realize you don’t have any eggs! Which is exactly what happen to us. However delicious pancakes are still achievable even if you don’t have any eggs!
We hope you enjoy these eggless pancakes, courtesy of “eggless cooking”. You have to try these!
https://www.egglesscooking.com/eggless-pancakes-recipe/
What You Need:
- 1 Cup All Purpose Flour
- 1 Teaspoon of Sugar (give or take, I add a little more)
- 1/4 Teaspoon Ground Cinnamon
- 2 Teaspoons Baking Powder
- 1/4 Teaspoon Salt
- 1 Cup Milk ( 2%)
- 1 Tablespoon Vegetable Oil
- 1 Tablespoon Water
- 1 Teaspoon Vanilla Extract
- 2 Tablespoons Unsalted Butter
Steps:
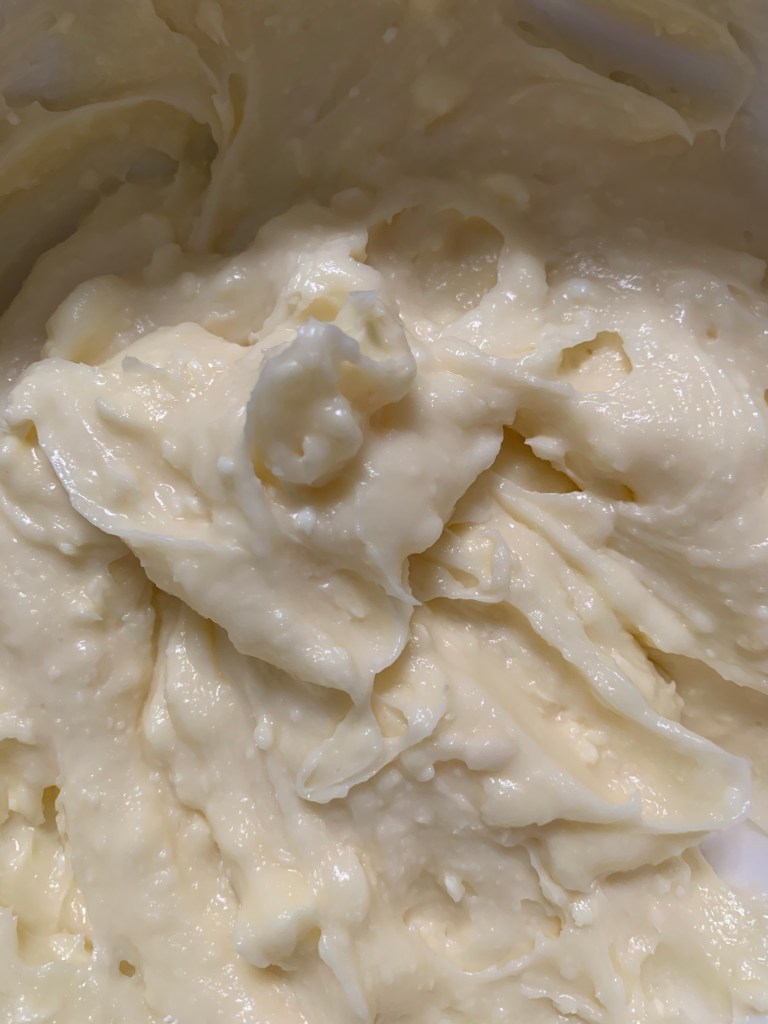
- Whisk together the flour, sugar, cinnamon, baking powder, and salt. (The dry ingredients)
- In a small bowl whisk 1 cup milk, the vegetable oil, water and vanilla extract. (The wet ingredients)
- Stir in the wet ingredients to the dry ingredients. Set aside.
- Heat a skillet at a low medium heat. Once the pan is hot add the unsalted butter and let it melt.
- Add the melted butter to the batter and return the pan to the stove. Mix the butter into the batter well.
- When the pan is hot enough, pour a small ladleful of batter on the pan for each pancake. Cook until bubbles appear on the face of the pancake.
- Carefully flip the pancake and cook until golden brown on both sides.
Sidenote: keep your skillet on medium LOW. These do cook fast and can easily burn if the pan is too hot.

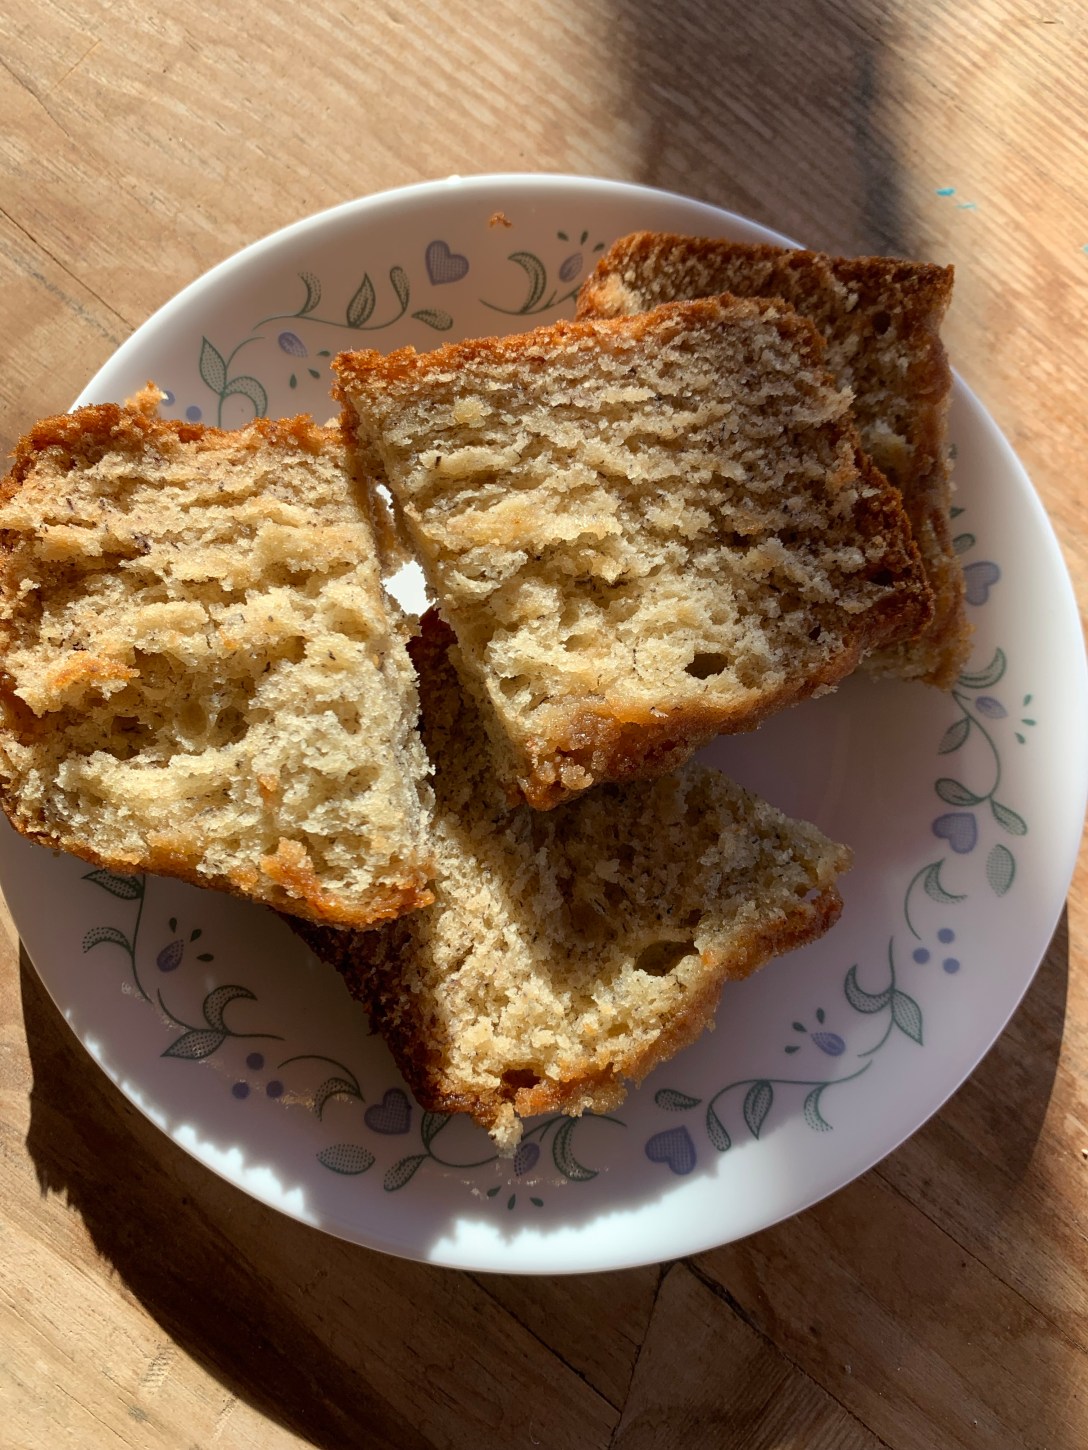


 Easy, yummy, and quick!