Peanut Butter Cookies With 5 Ingredients

Btw, these are flourless!

Warning: these 5 ingredient peanut butter cookies are highly addicting! And honestly, I don’t really feel guilty eating them!

Let us know what you think!

Servings 16-18 cookies (tip: use a tablespoon measuring spoon to scoop to make the perfect size)

What you need:

1 cup of natural peanut butter

1 cup of sugar

1 teaspoon of vanilla extract

1 large egg beaten

Salt for sprinkling (coarse sea salt would be ideal but table salt is okay too!)

Steps:

1. Preheat oven to 350

2. Mix all ingredients in a medium size bowl.

3. Scoop tablespoon size balls, roll into ball, and place on cookie sheets lined with parchment paper.

4. Use a fork to flatten the cookie, making a crosshatch pattern.

5. Bake for 8 to 10 minutes and sprinkle with salt.

Sooooo yummy!

Sweet Cookie Frosting

A yummy sweet cookie frosting. This frosting would also be super tasty on cakes or cupcakes.

Enjoy!

What you need:

1/3 cup softened unsalted butter

1/4 cup of milk

1/2 teaspoon of vanilla extract

1/2 teaspoon of almond extract

4 1/4 cups of powdered sugar

Steps:

In a medium size bowl mix all ingredients together. That’s it!

Happy frosting making!

Chewy Rippled Chocolate Chip Cookies

What You Need:

2 1/4 cup all purpose flour

1 teaspoon of salt

1 teaspoon of baking soda

3/4 cup of light brown sugar (firmly packed)

3/4 cup of granulated sugar

1 cup unsalted softened butter (2 sticks)

1 teaspoon vanilla extract

2 eggs

1 10oz bag of mini chocolate chips

Steps:

1. Blend together both sugars and softened butter. Add eggs and vanilla extract. Set aside.

2. In a separate bowl whisk together the flour, salt, and baking powder.

3. Combine the wet and dry ingredients together and add bag of mini chocolate chips.

4. Scoop tablespoon size of cookie dough onto cookie pan.

5. Bake at 375 for 8 to 10 minutes. (Oven time may vary. 8 minutes worked for mine.)

TO GET THE RIPPLES

Take the cookies out 2 to 3 minutes before they are fulling done baking. With both hands (with oven mitts on) beat the pan against the counter a few times. Don’t be too gentle, have fun with it. You will see with your eyes the ripples begin to form. Place back in oven to finish baking.

Set on cooling rack when complete.

Notes: cookie dough can be stored in fridge for 2 to 4 days. If you choose to freeze the dough I would recommend no longer than 2 to 3 months.

This cookie dough is so good!
I used a measuring tablespoon and a spoon to place the dough on the sheet.
Enjoy!

Maple And Brown Sugar Oatmeal Cookies

Makes between 20 to 25 cookies (depending on desired size)

Bake at 350 for 8 to 10mins (oven time may vary)

What You Need:

1 cup of all-purpose flour

1 full stick of softened unsalted butter (8 tablespoons)

2 cups of rolled oats

1/2 cup light brown sugar

1/4 cup pure maple syrup

1/2 cup granulated sugar

1 egg

1/2 teaspoon baking soda

1/2 teaspoon baking powder

1/4 teaspoon salt

3/4 cup chocolate chips (I used dark, but you can use semisweet too)

1/2 teaspoon vanilla extract

Steps:

1. In a medium size bowl mix together oats, baking powder, baking soda, salt, and flour.

2. In a large bowl beat with an electric mixer the brown sugar, the stick of butter, and granulated sugar until combined. Beat in egg. Then beat in maple syrup and vanilla extract. Once it’s all combined begin beating in the flour mixture. (Can use hands when it begins getting thicker)

4. Once mixture is set add chocolate chips and mix well. (If you have kids this is fun for them to mix with their hands)

5. Place generous dollops of oatmeal batter onto parchment paper. Bake at 350 for 8 to 10 mins.

Note: when taking the cookies out of the oven beat the tray on the counter a few times to enhance a chewy soft texture. So yummy. It needs to be done RIGHT AWAY once pulled out.

ALSO, I personally bake one tray at a time on the high rack. This recipe made about 3 trays for me.

When placing on cookie sheet keep in mind they don’t need to be perfect. Glob it up!
Fresh from the oven. I really feel beating them on the counter makes the difference. Let me know how it works for you! Do it once you pull them out!
Crispy AND chewy. Not overly sweet either! Enjoy with a glass of milk and share with friends.

Enjoy!

Breakfast Zucchini Bread

This bread is easy to make and super tasty. A yummy quick breakfast treat, but hey, if you want to have this for lunch or dinner I won’t judge!

Is best served warmed up with unsalted butter! Enjoy!

Breakfast Zucchini Bread

(This is called ‘Breakfast Zucchini Bread’ because it’s best to make in the evening and allow to sit overnight.)

Makes one small 8 x 4 loaf

Bake at 350 for 50 minutes or until toothpick comes out clean.

What You Need:

1 large zucchini or 2 small ones finely shredded

1 beaten egg

1 1/2 cups of flour

1 teaspoon cinnamon

1/4 teaspoon plus a sprinkle of nutmeg

1/4 teaspoon baking powder

1/2 teaspoon baking soda

1/2 teaspoon salt

1 cup of sugar

1/4 cup of vegetable oil

Steps:

1. In one small bowl whisk together the flour, salt, baking powder, cinnamon, nutmeg, and baking soda.

2. In a separate medium/large size bowl mix the beaten egg, sugar, vegetable oil, and shredded zucchini with an electric mixer.

3. Begin adding the dry ingredients (the flour and spices) to the wet ingredients (the egg and oil) slowly till batter is consistent.

4. Generously butter up the loaf pan and pour batter into pan. Bake at 350 for 50 minutes or until toothpick comes out clean.

5. When bread is complete, allow to cool completely. Cover and let it sit overnight.

And then, enjoy for breakfast!

Mix all the dry ingredients in separate bowl.
Then, mix your wet ingredients.
Combine flour mixture and zucchini mixture together and bake at 350.

4 Ingredient Baked Pop-Tarts

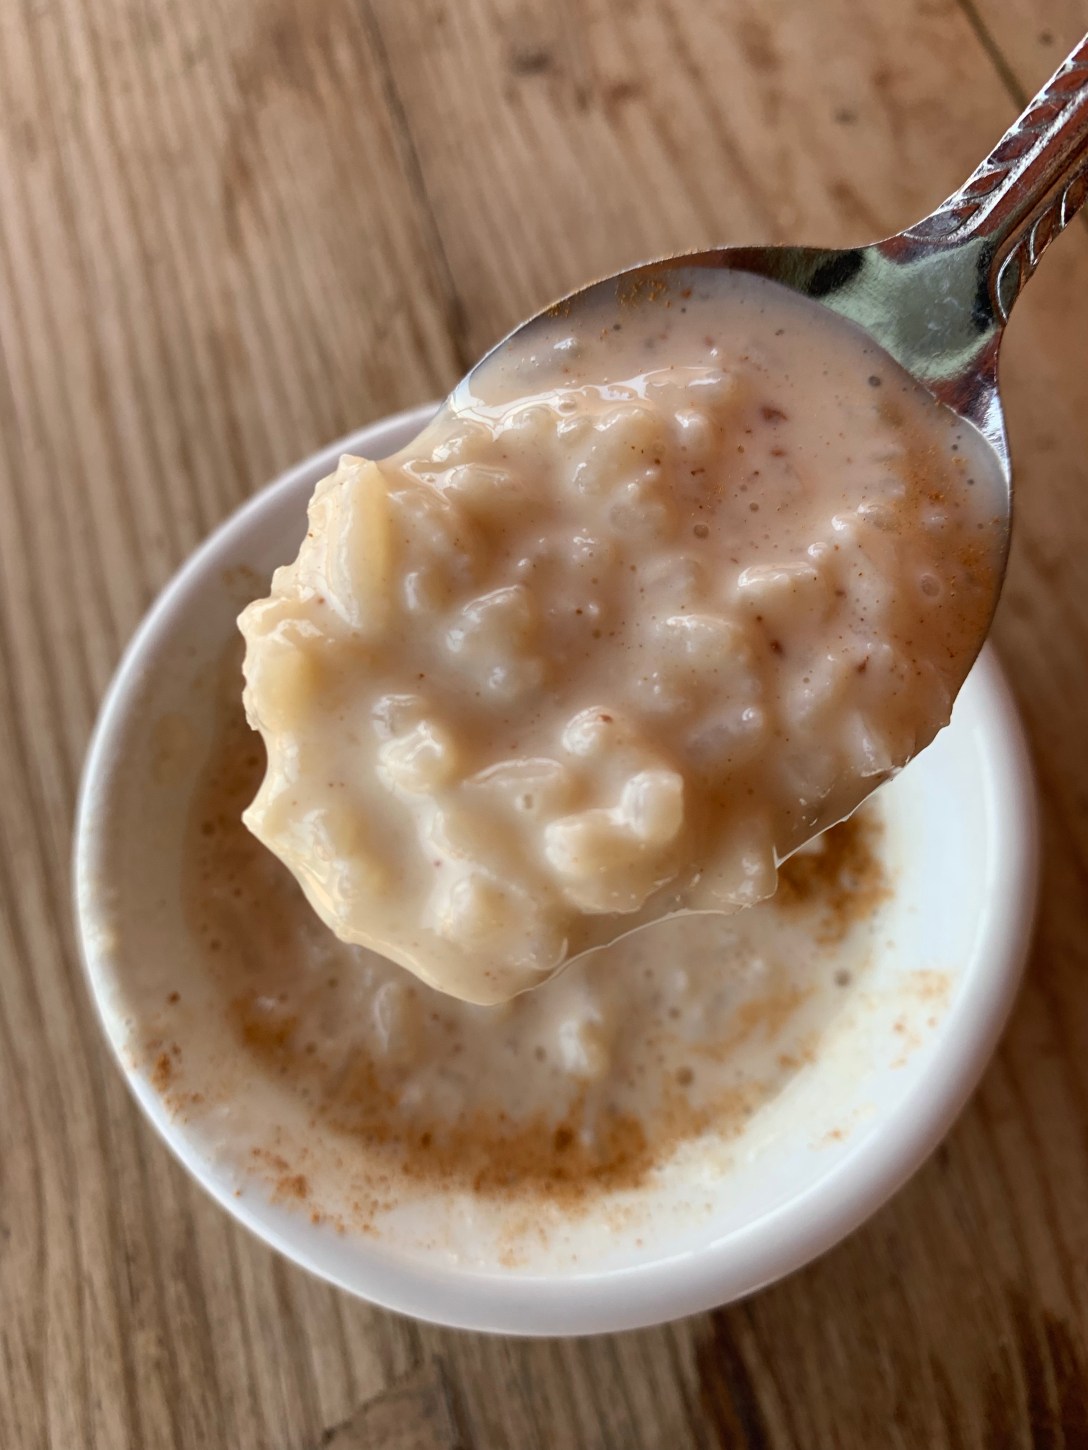
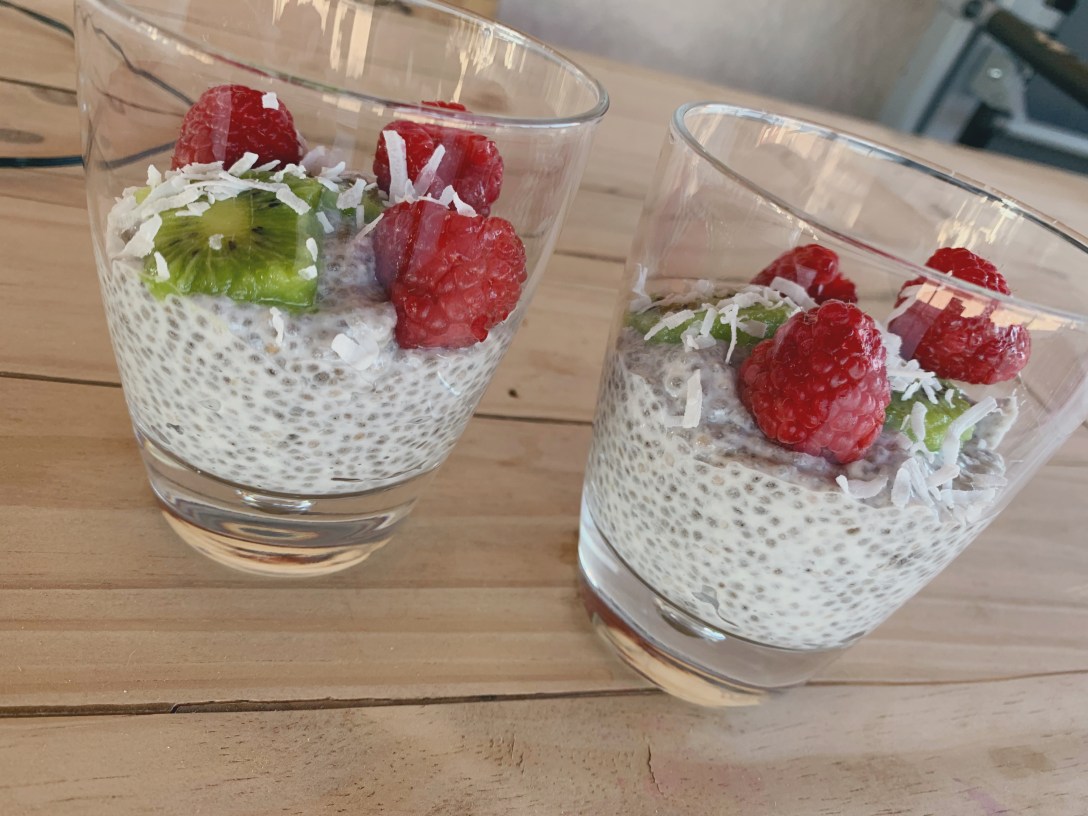
Easy, yummy, and quick!

Once you figure out how easy this is the possibilities are endless!

I’m so excited to try more flavors and to really get creative!

Let’s just get to it shall we.

All You Need Is (for this specific pop-tart)

• premade pie crust

• smuckers natural strawberry fruit spread

• The egg white of ONE egg (all you do is brush this over the pastry before popping into the oven)
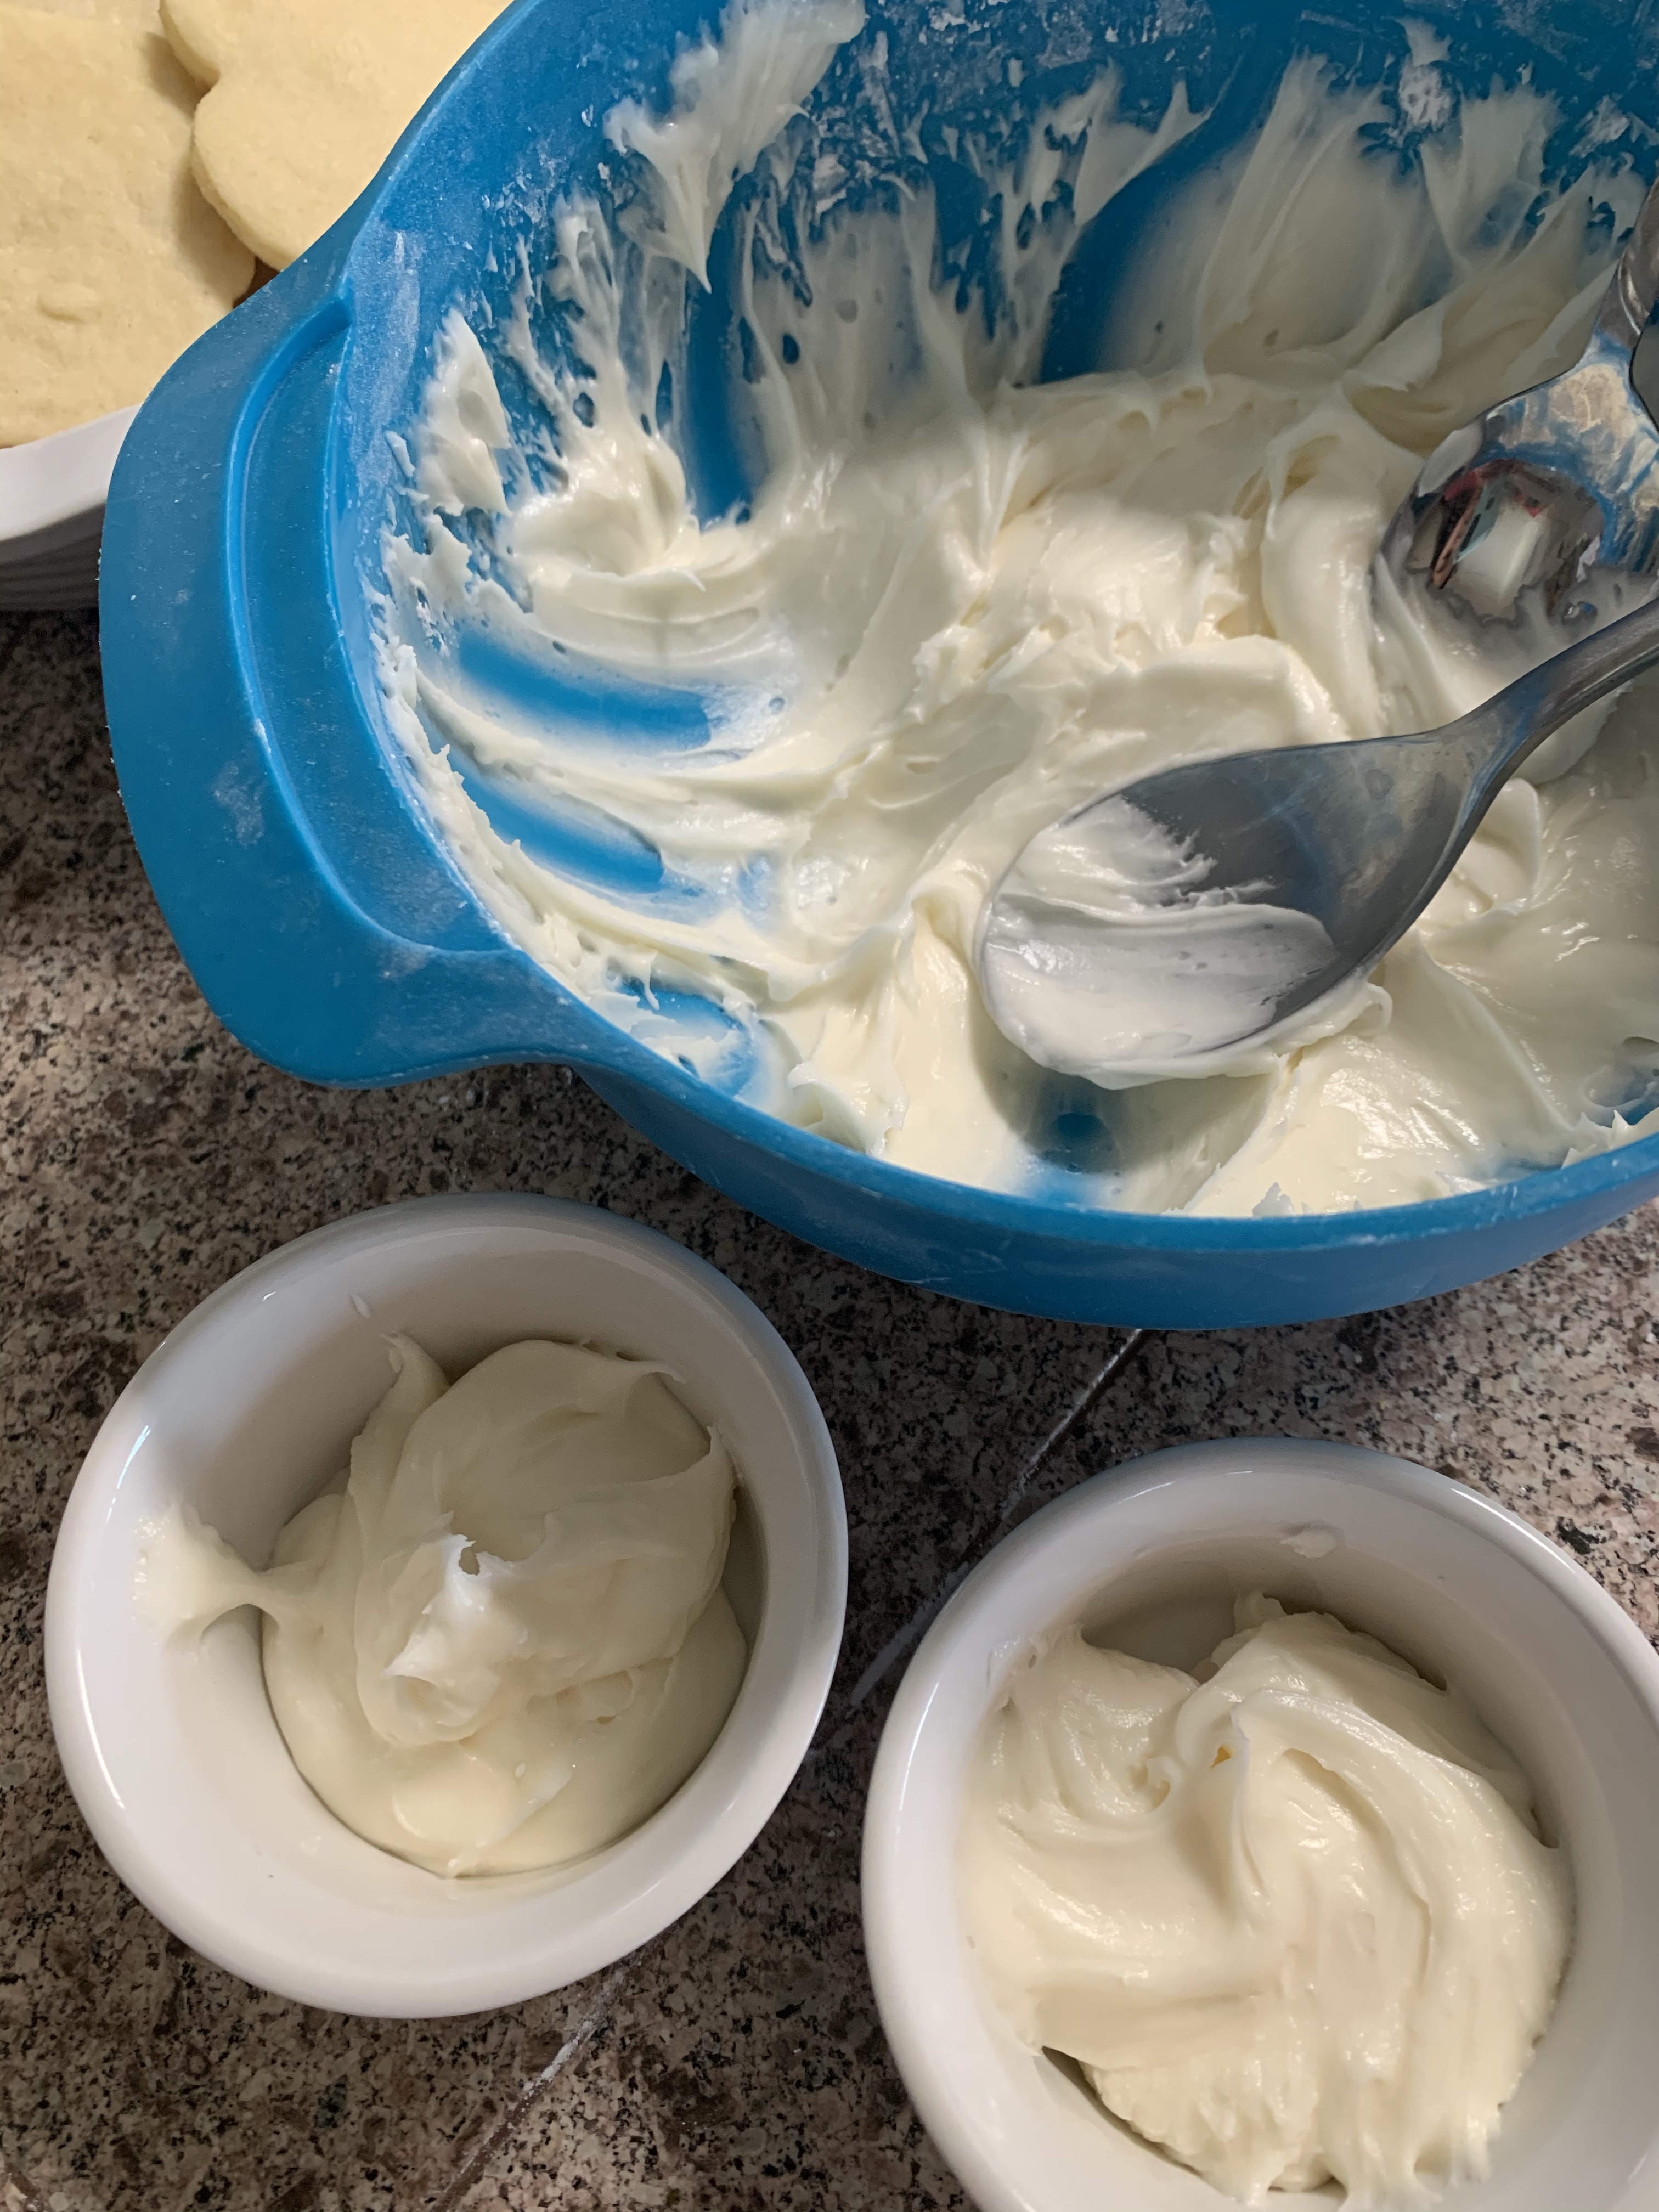
• Cookie Icing

(Sprinkles optional)


Maybe one of these days I’ll try making these with homemade dough and icing but I don’t have time! Do you!? This method of using store bought and pre-made makes this super easy, especially with your kids!

This is something fun then can make by themselves too! With adult supervision with the oven of course.


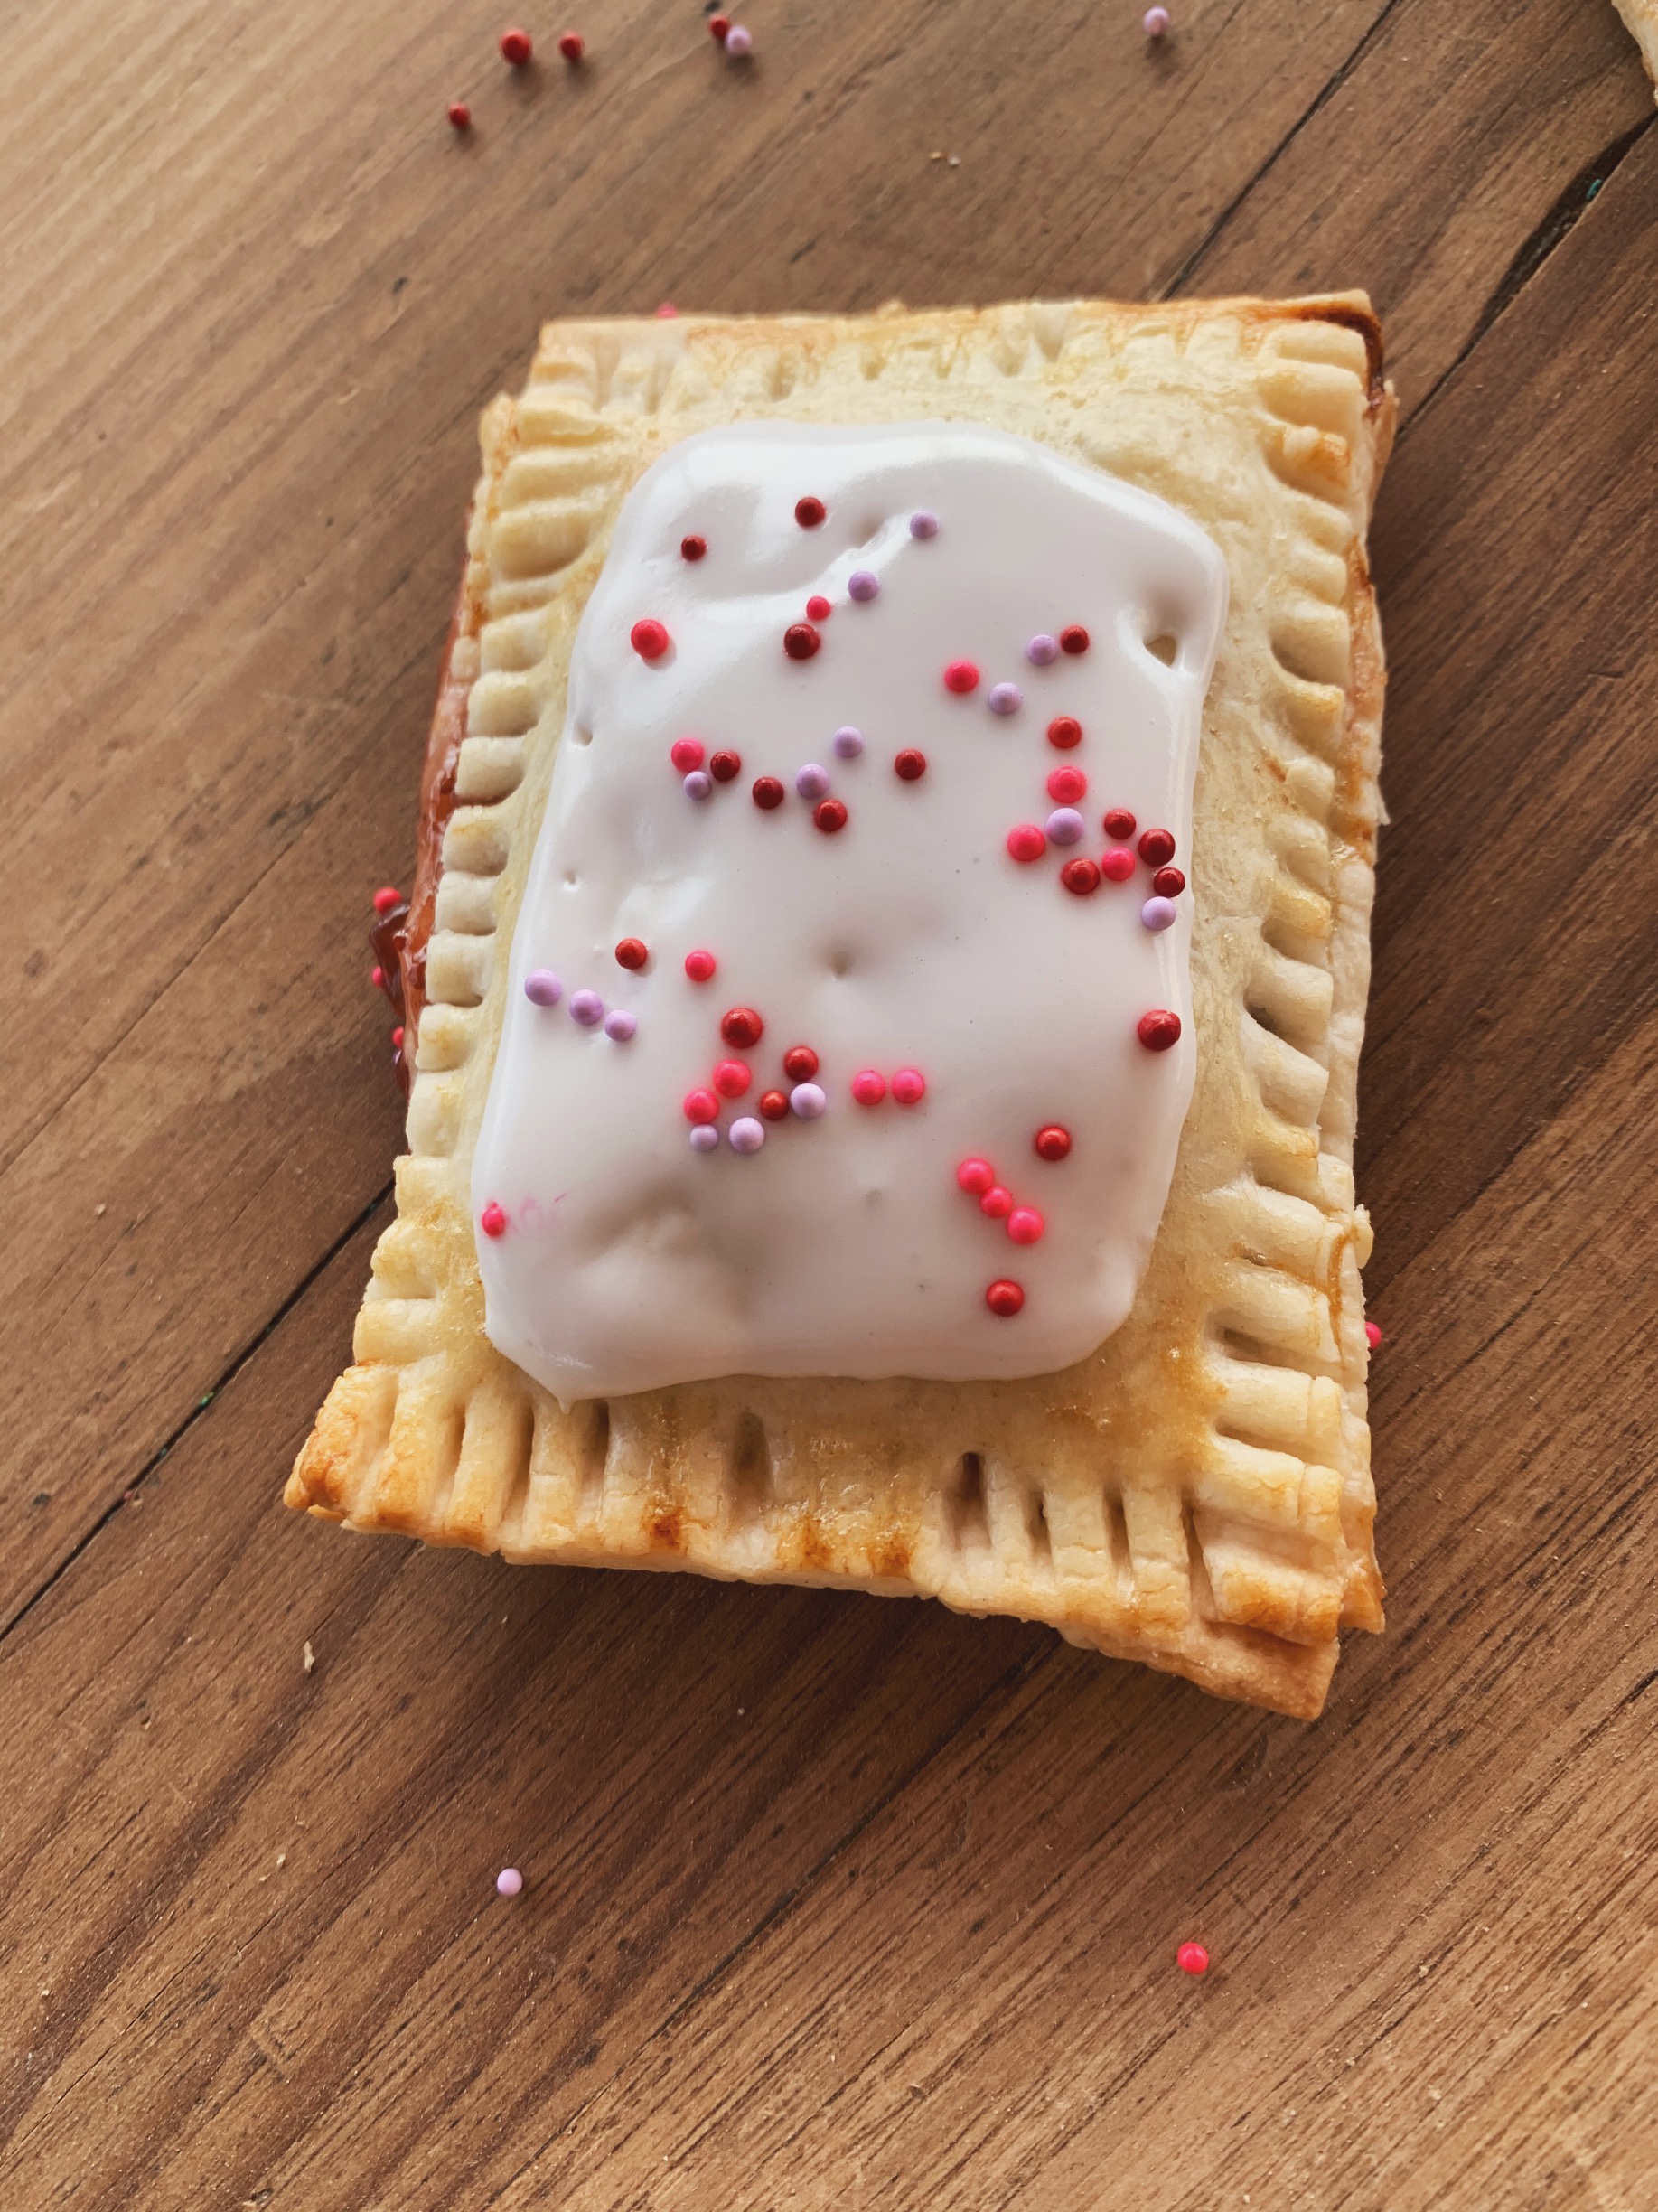
4 Ingredient Baked Pop-Tarts with pictures

Steps:

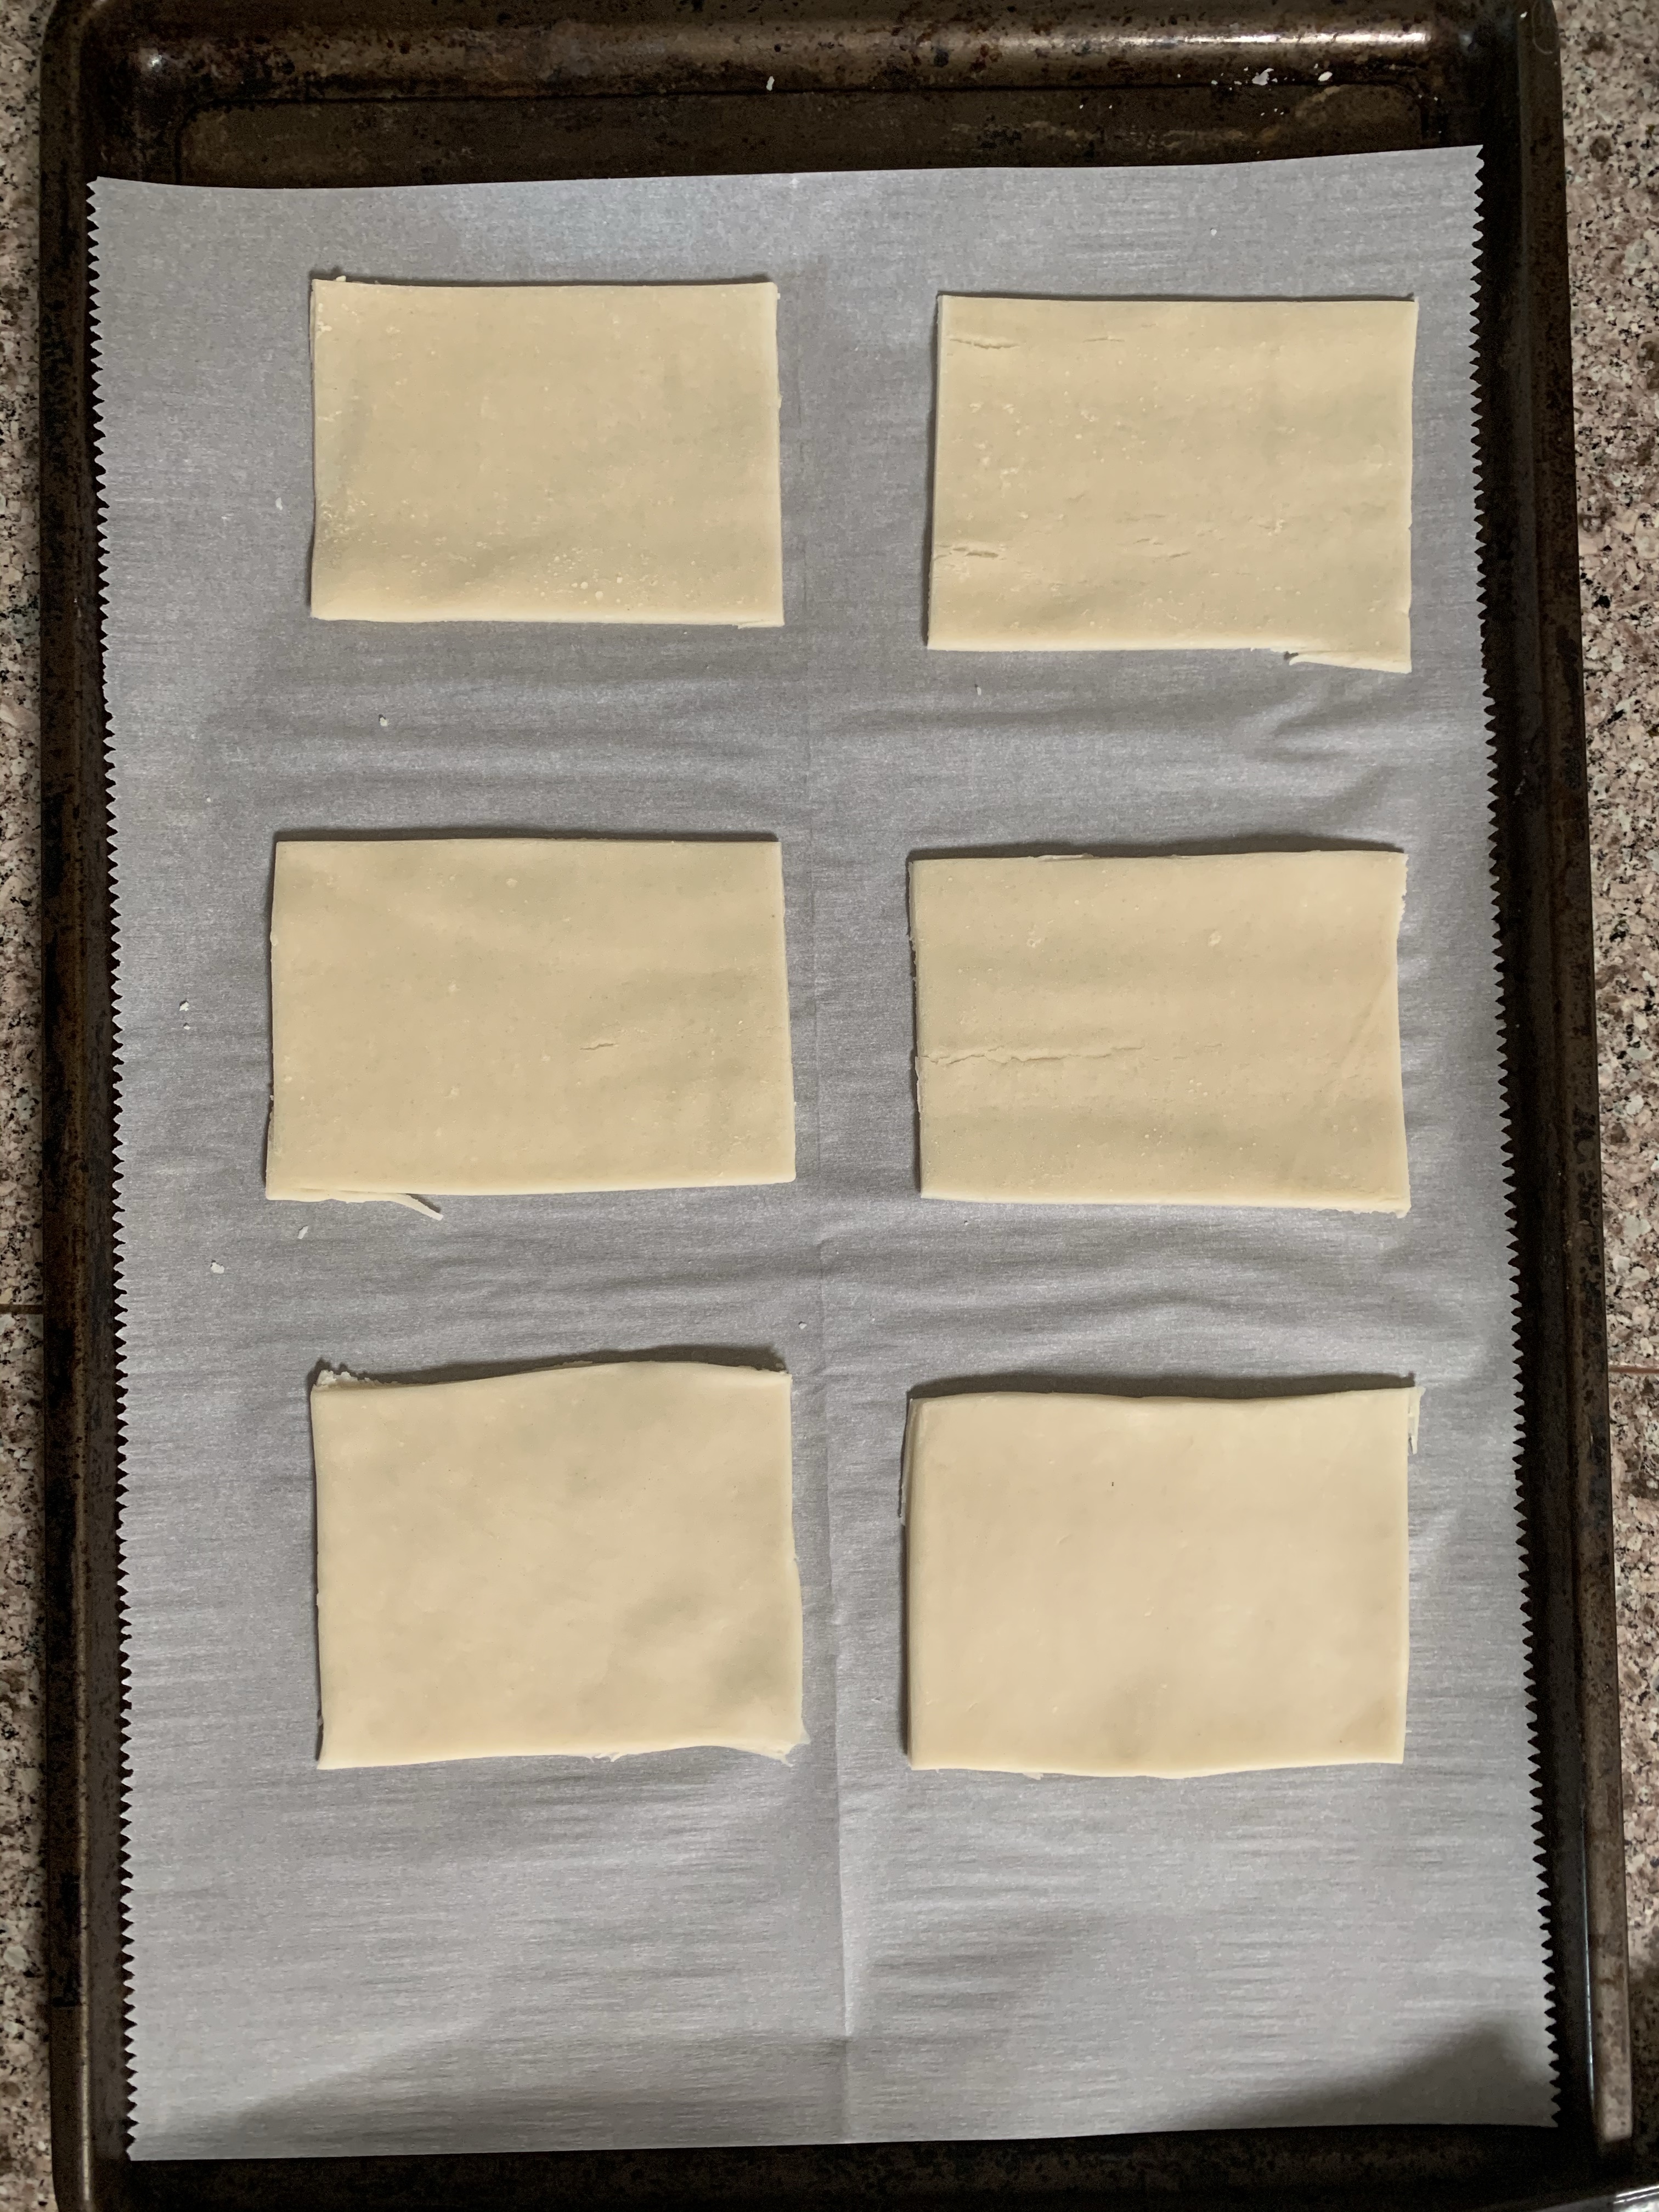
Step 1. Follow steps on the pre-made dough, on the box of dough I bought it said to roll out and let rise for 20 mins.)

– once dough is ready, cut out the size of rectangles you want and as many as you want (doesn’t need to be perfect).

– in this picture there are 6 rectangles which will make 3 pop -tarts.
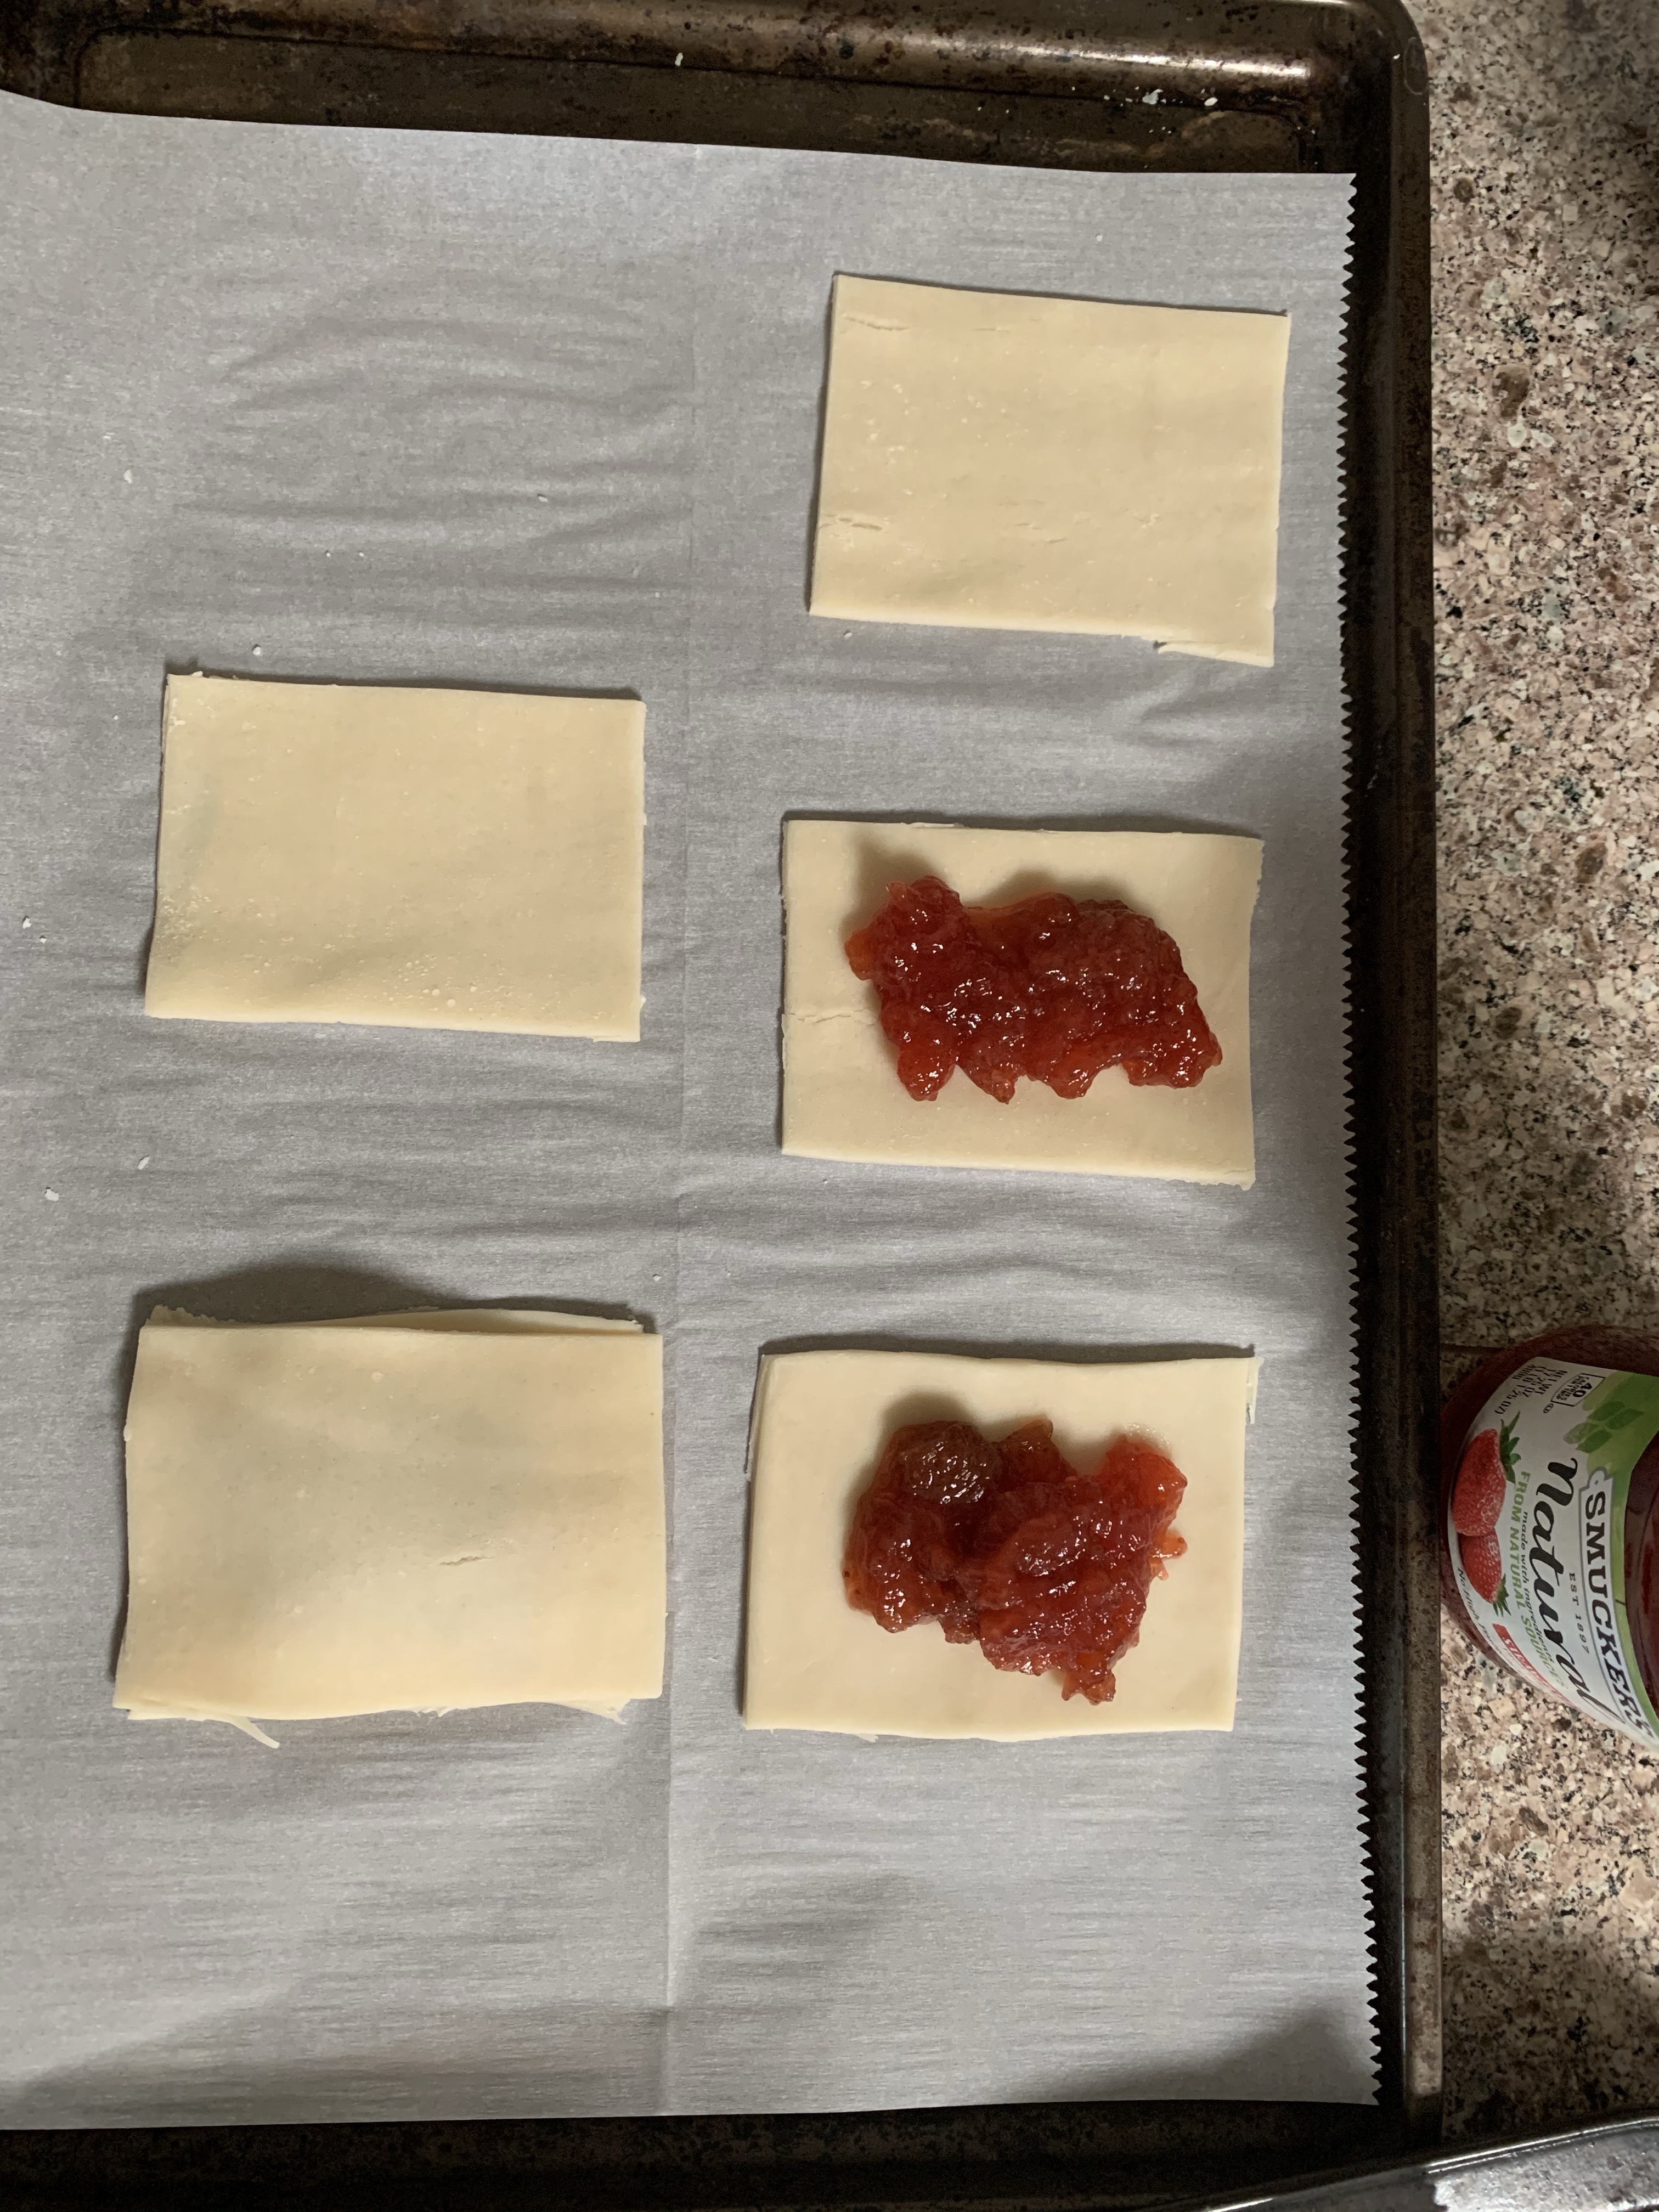
Step 2:

Put a dollop amount of strawberry spread onto the rectangles. However many you are making you want to make sure each rectangle has a plain one to go on top.
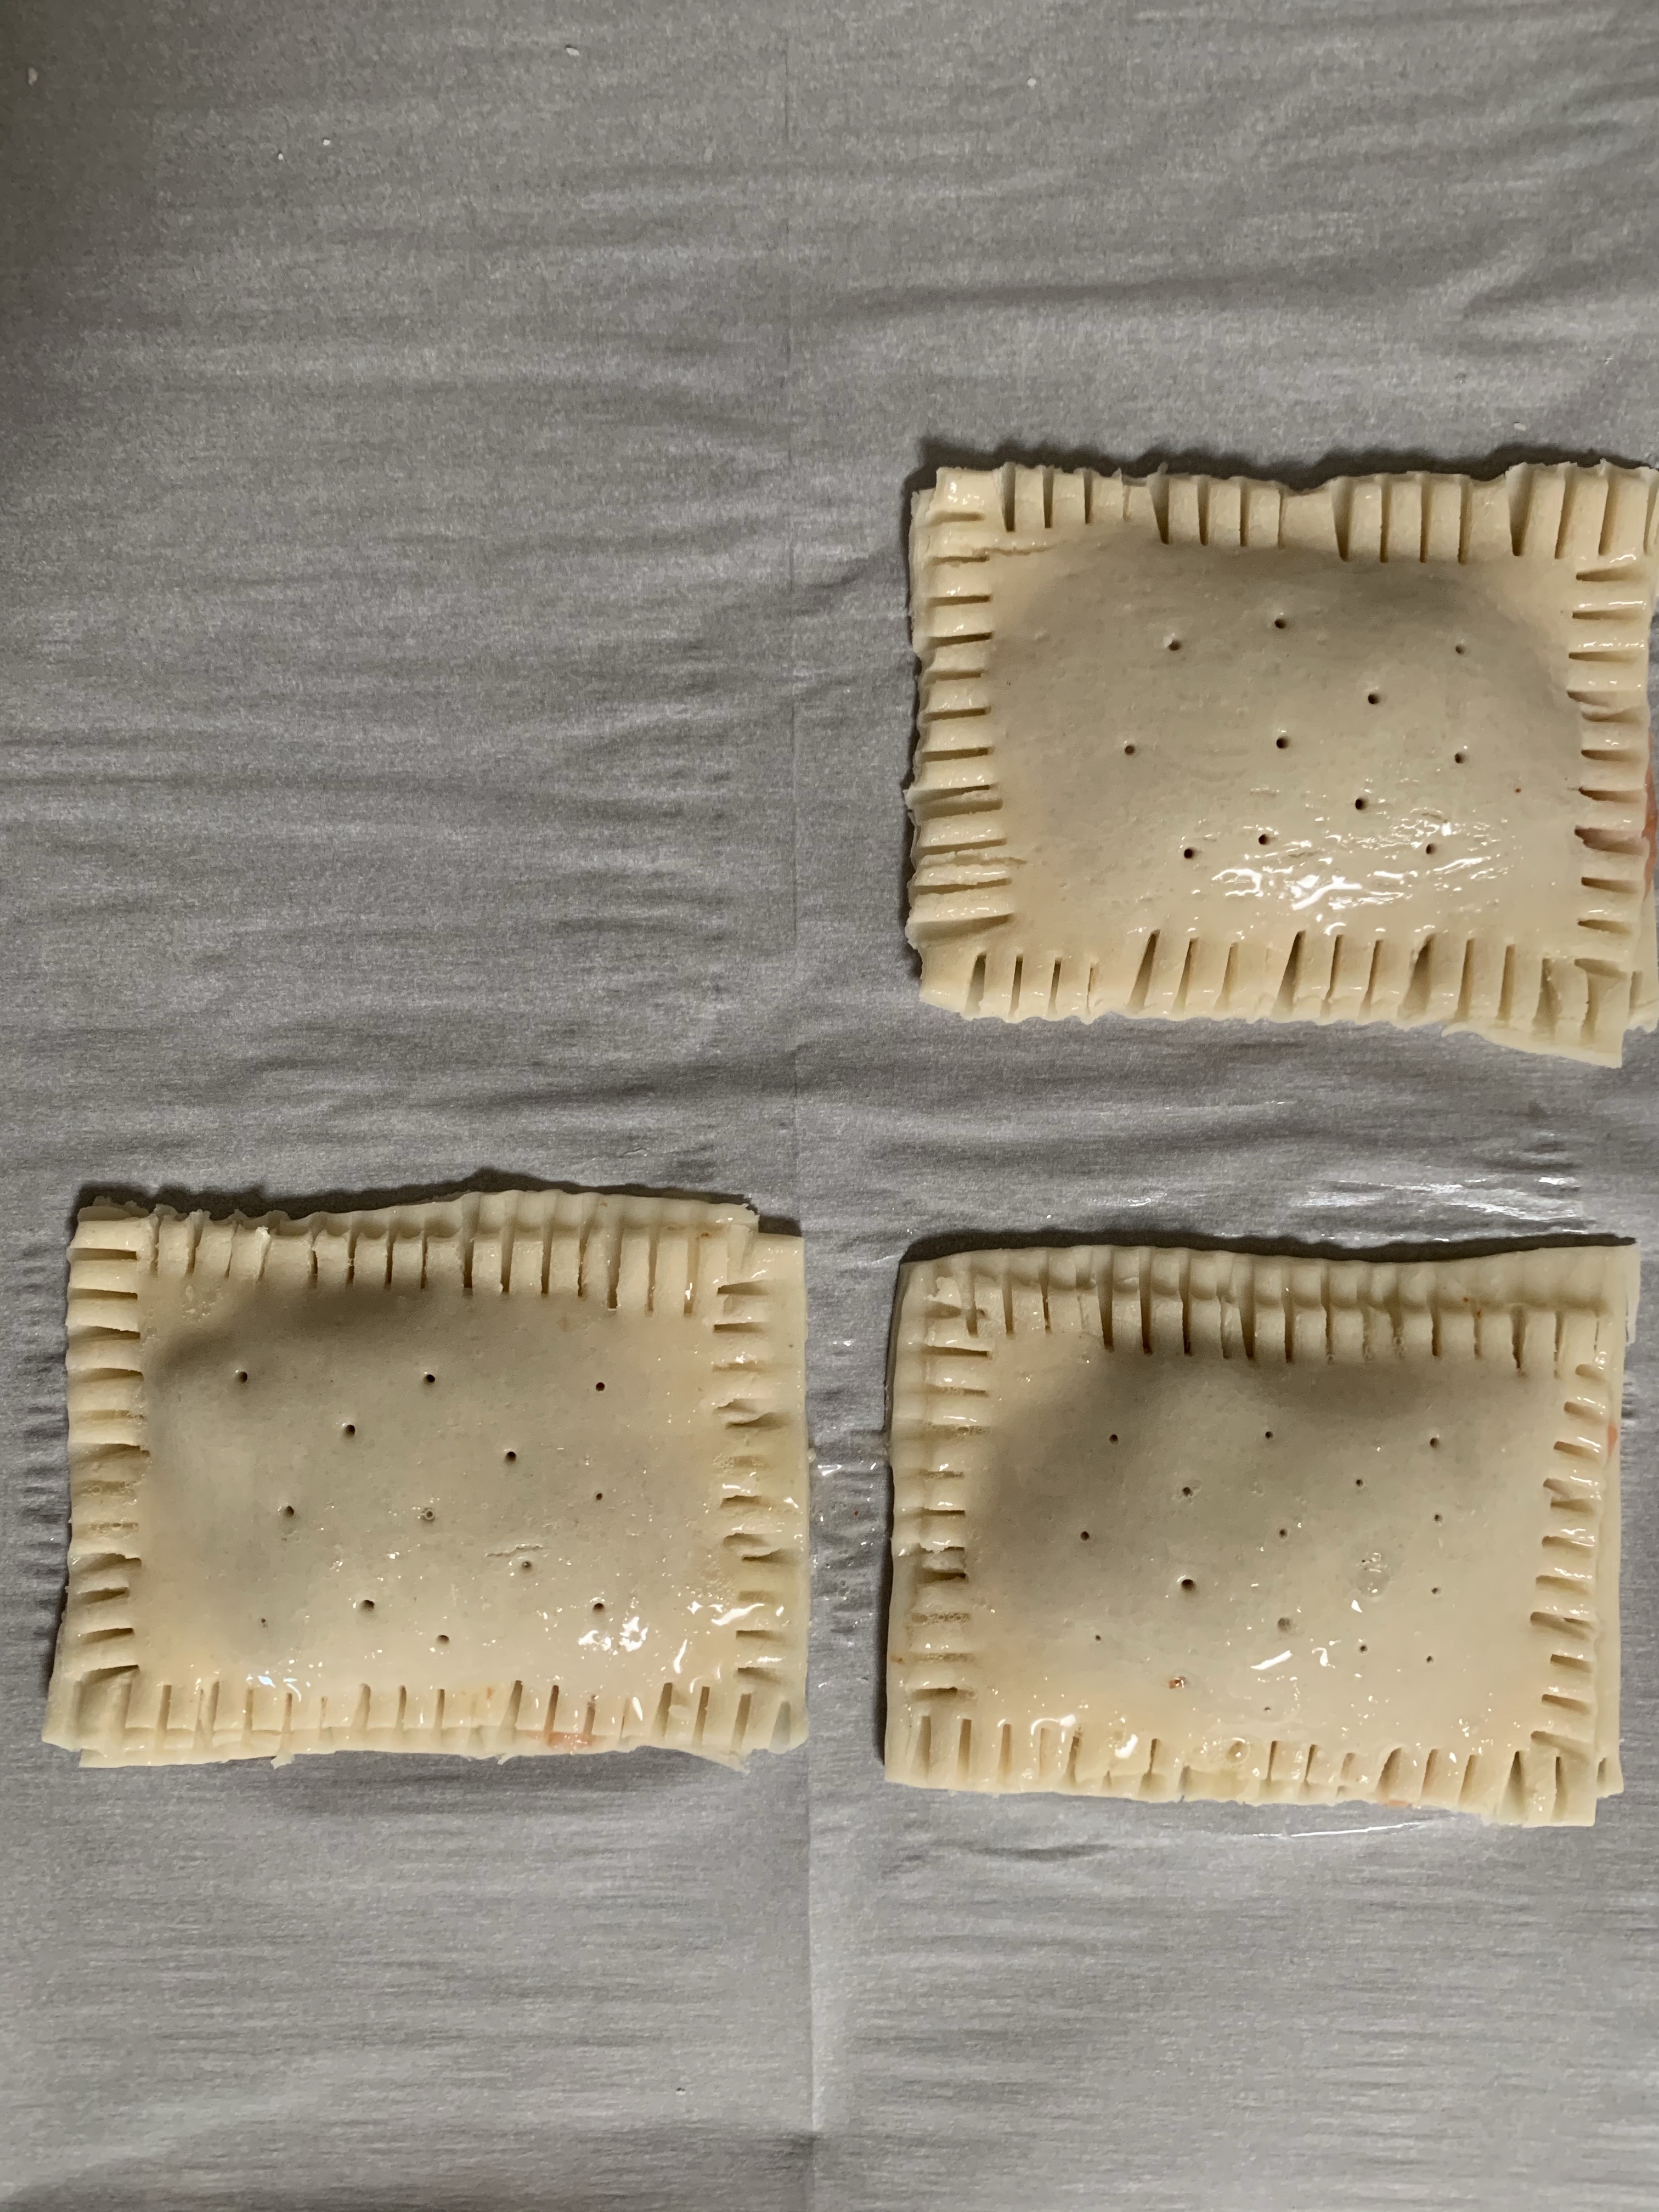
Step 3.

Place a plain rectangle of dough onto each rectangle with strawberry spread. And seal each pastry with a fork. Poke some holes on top with a toothpick.

Brush egg white wash all over the pastries. (whisk egg white a little before brushing)

(I made these with my girls so they aren’t the prettiest but I’m sure if you have time you can do a nicer job!)

Step 5.

Bake at 400 degrees for 10 to 12 minutes (oven time may vary) allow to cool
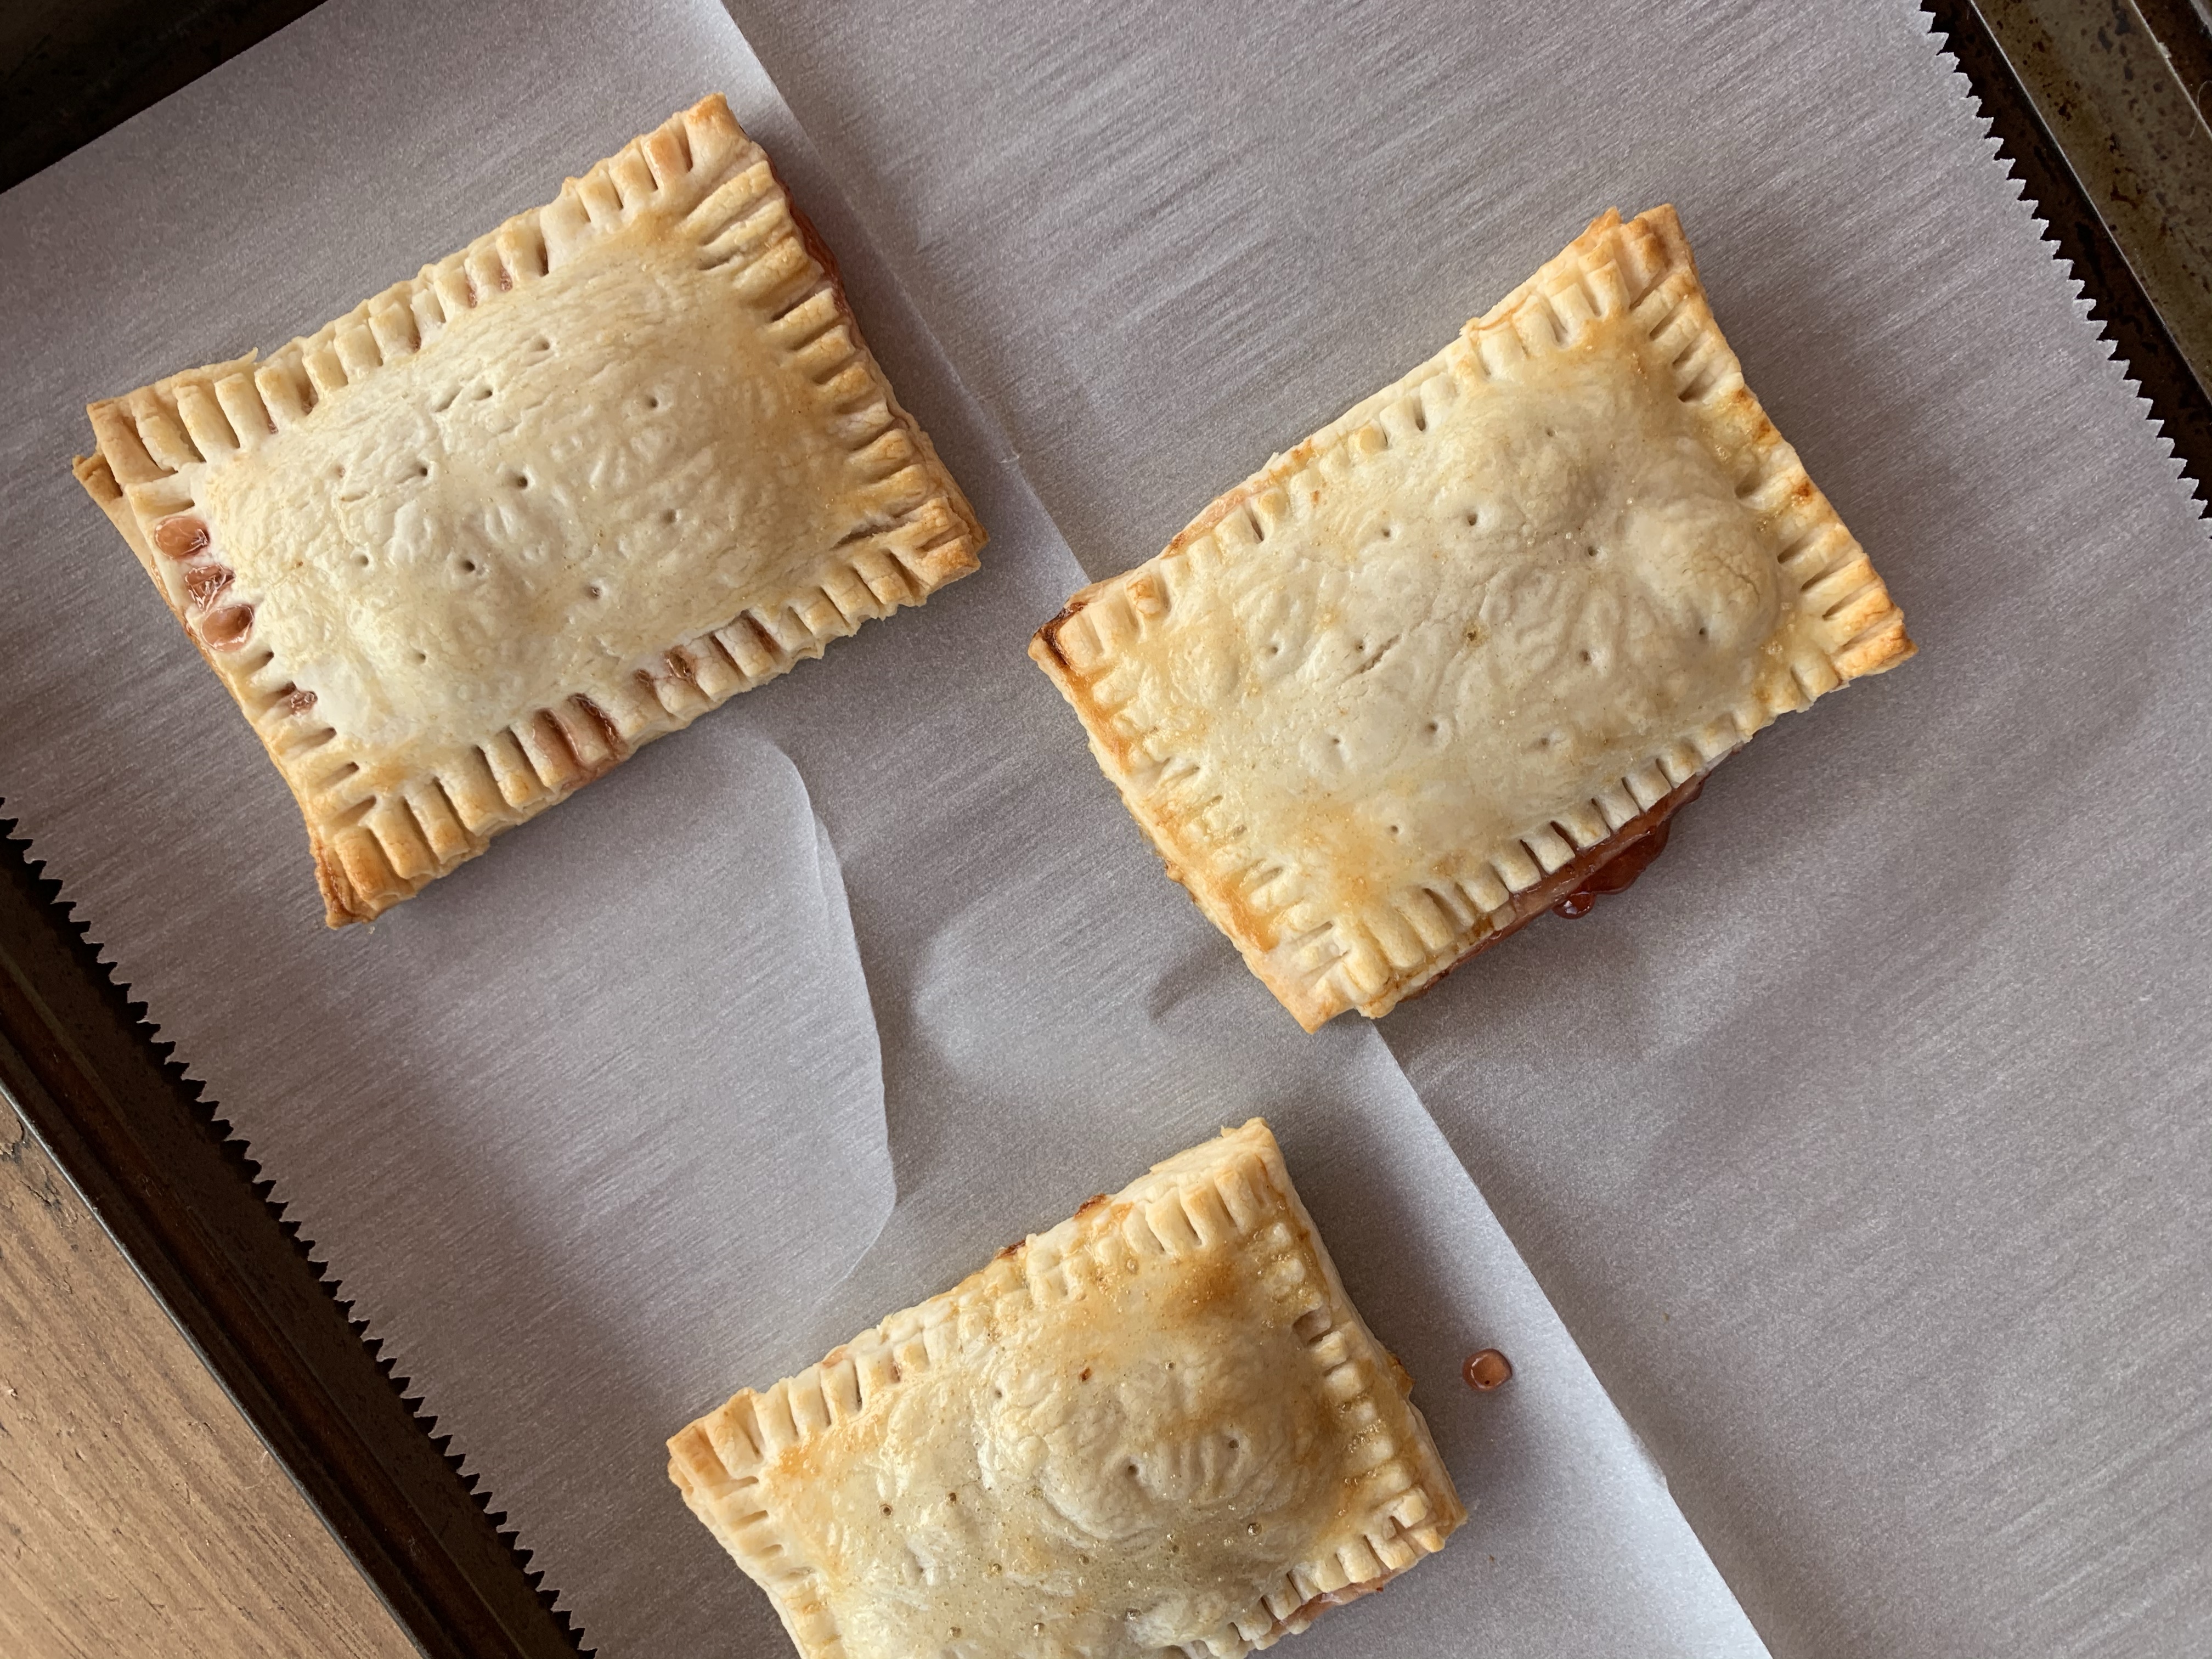
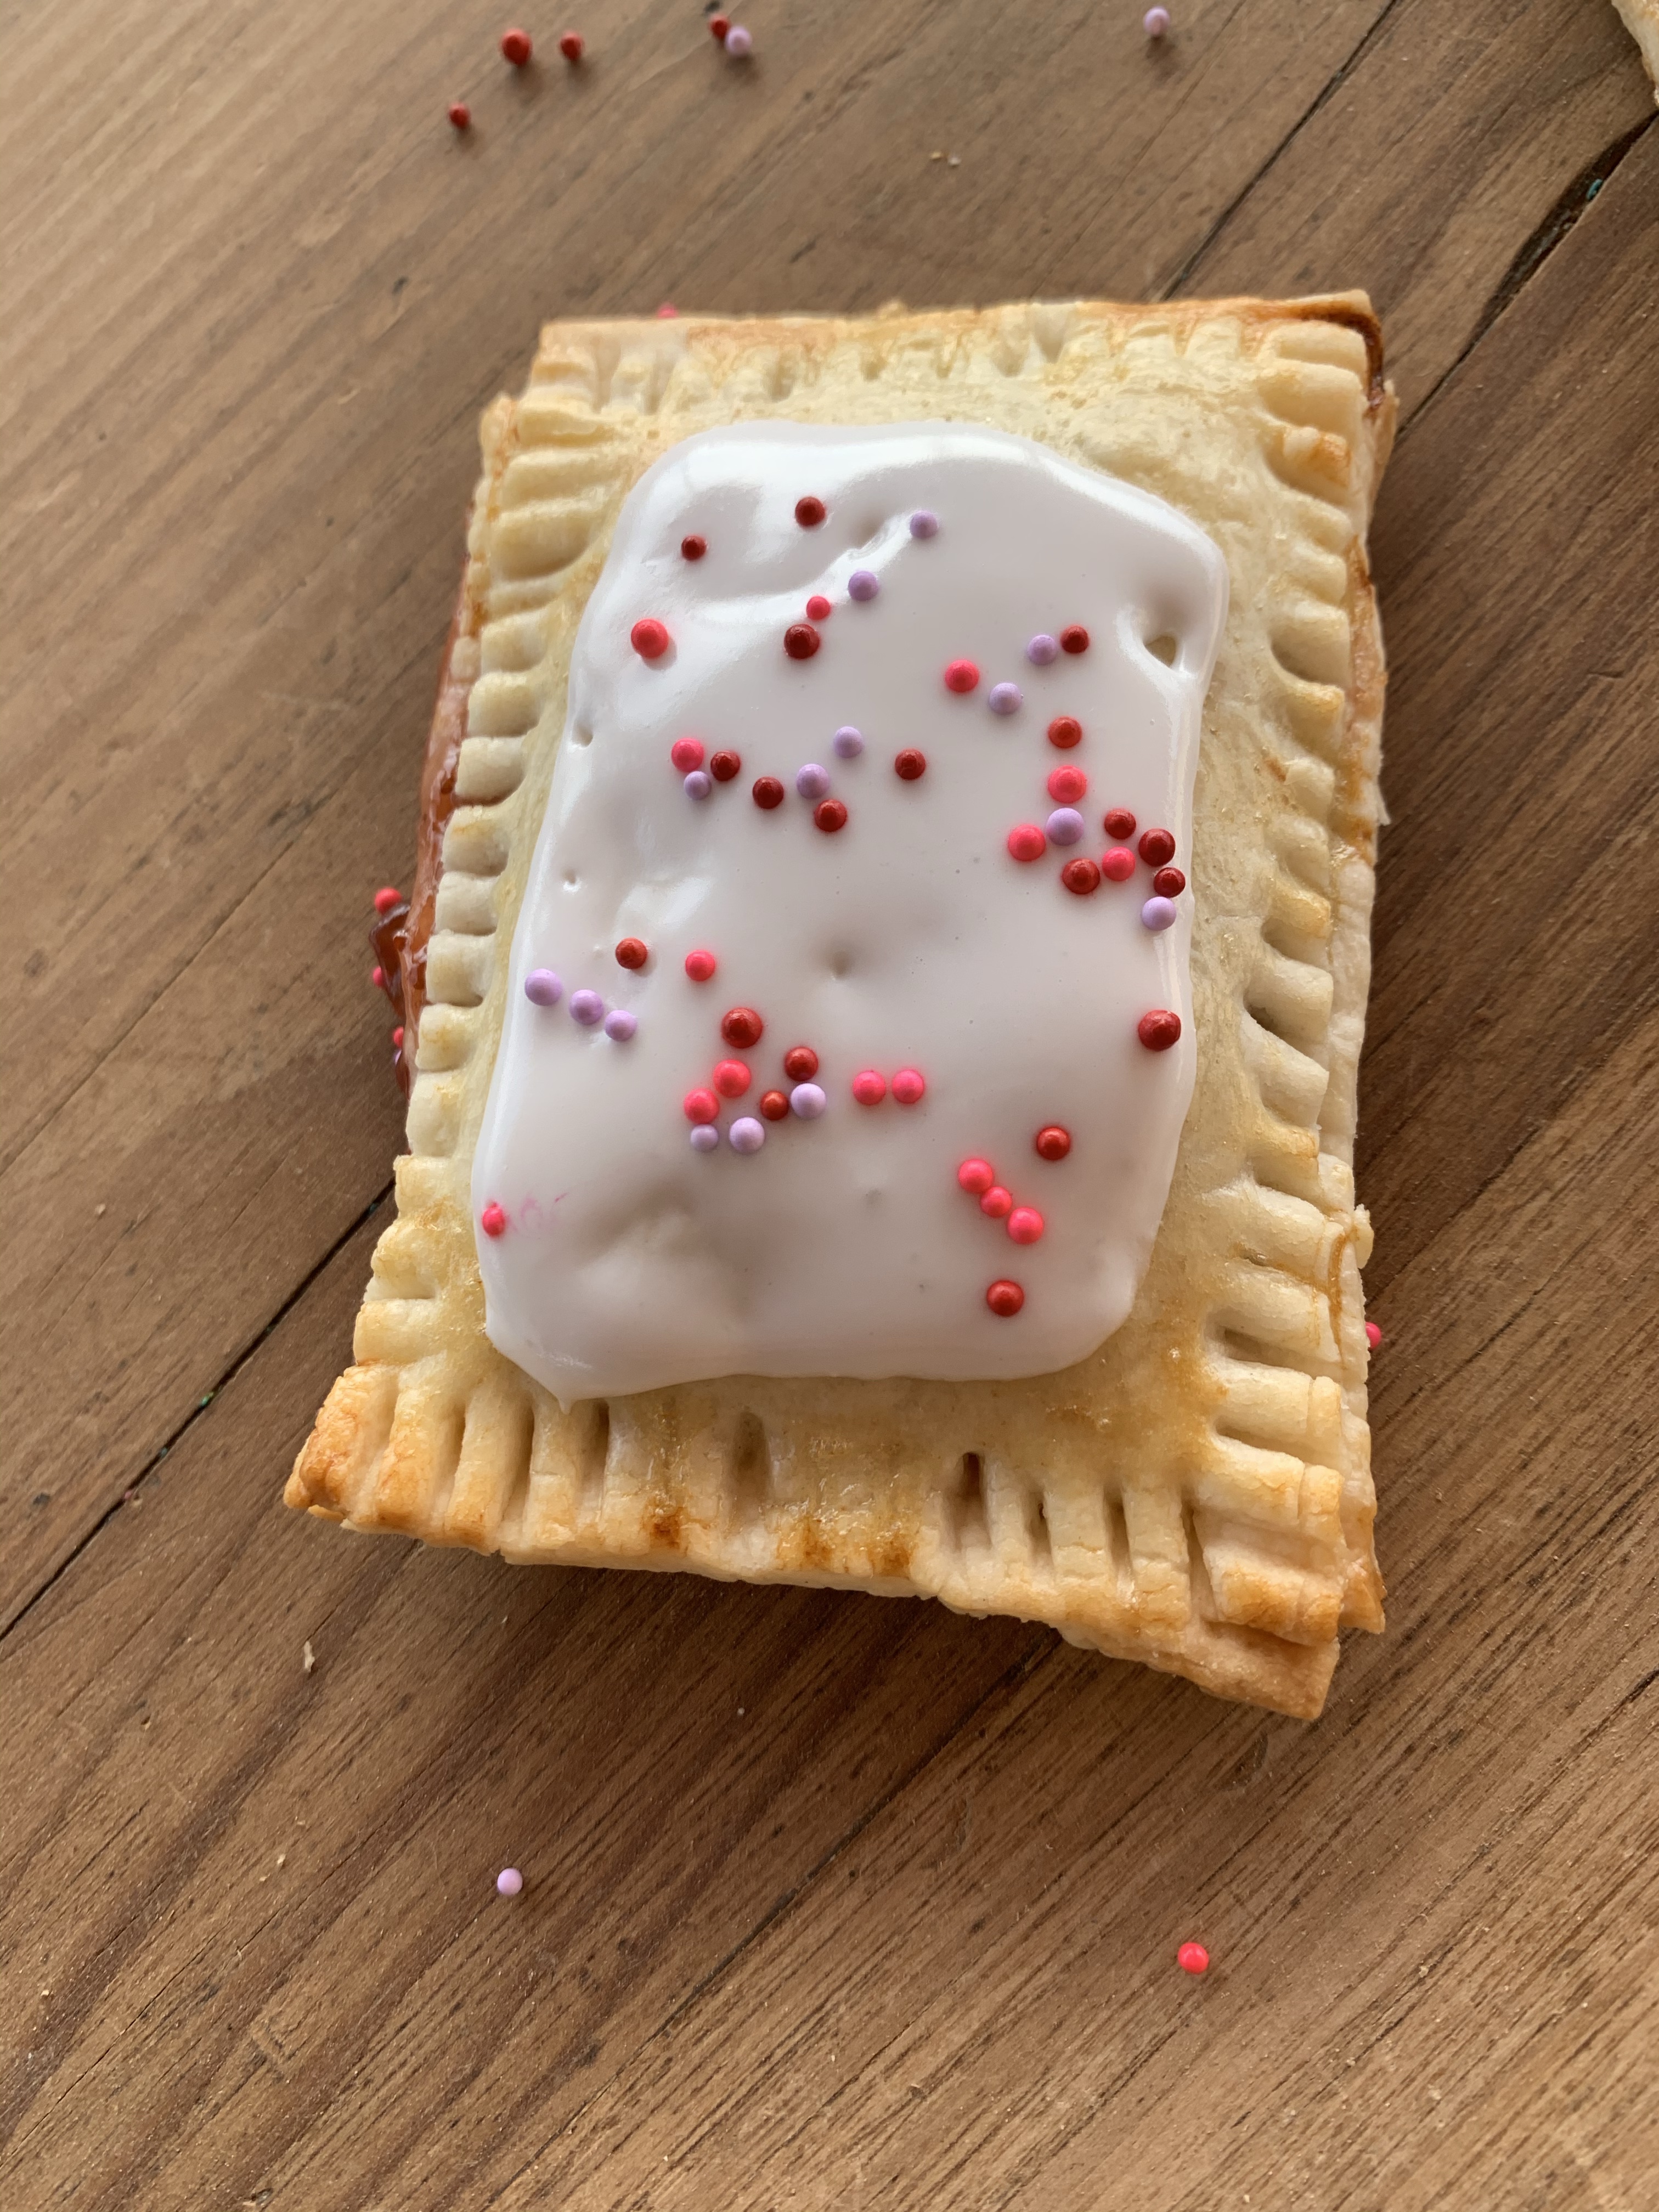
Step 6.

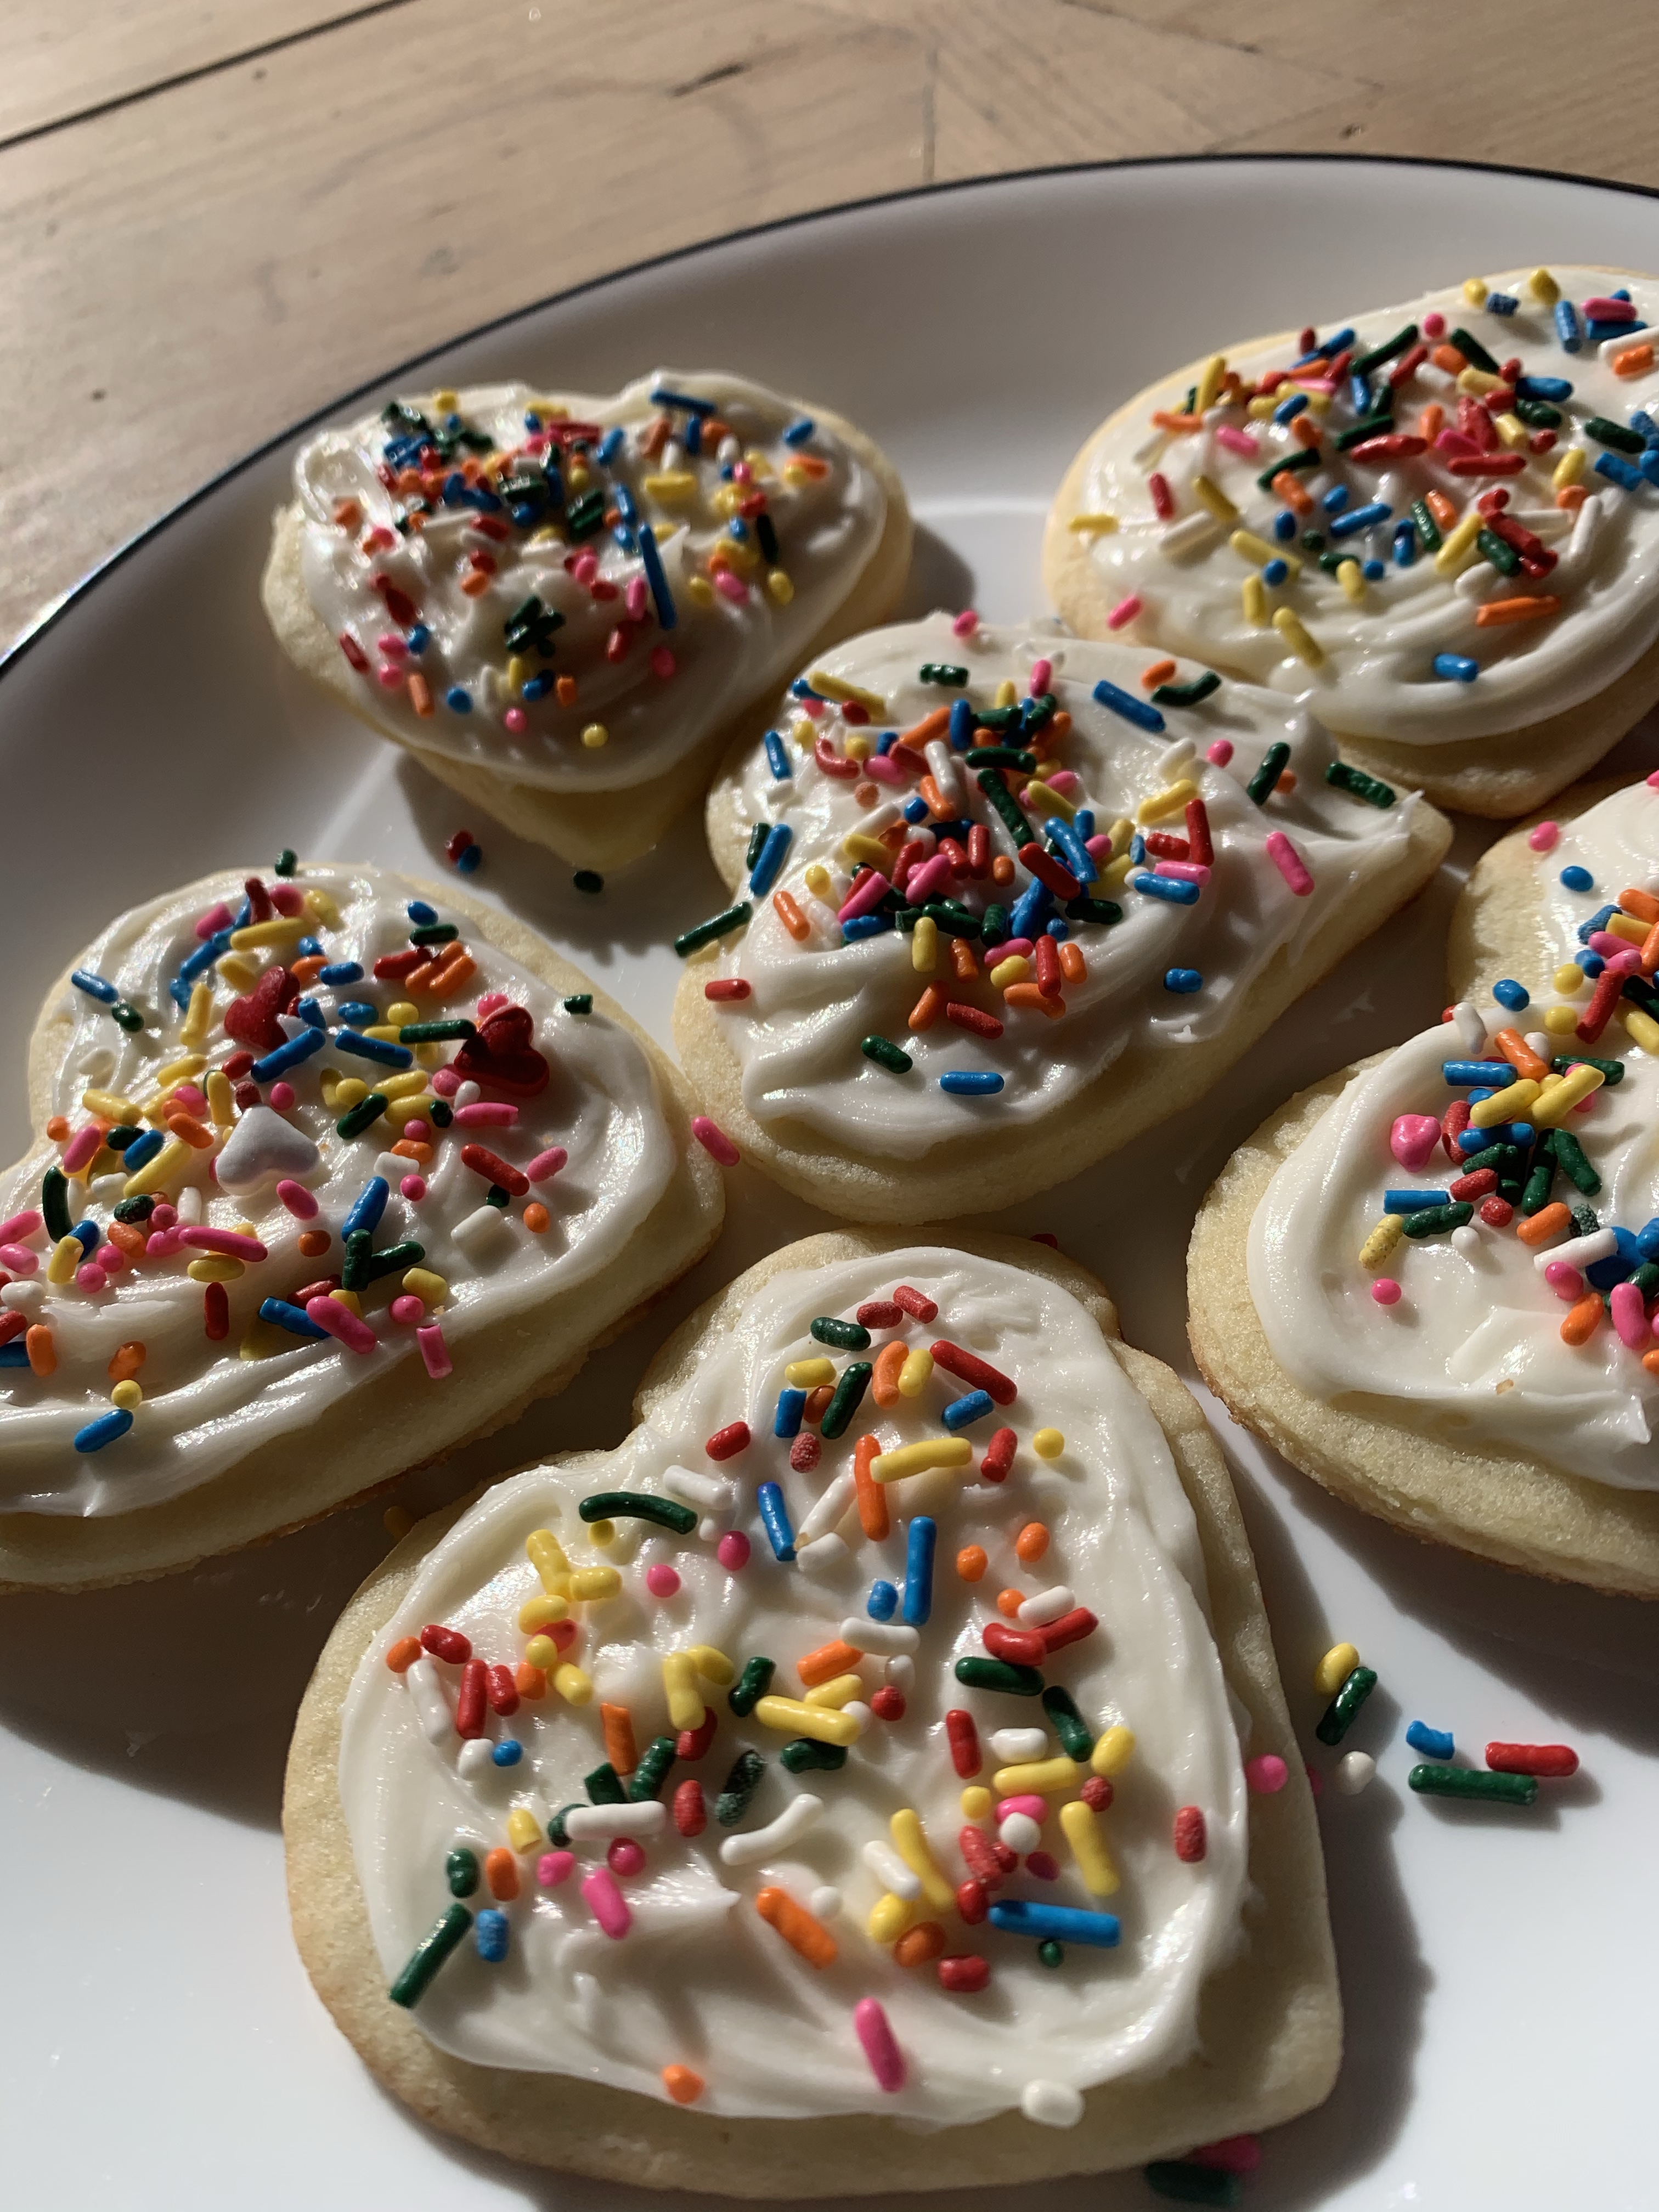
Add cookie icing and sprinkles!

Enjoy! See, simple!

Now go get creative and Wild with this!!!

Coconut Almond Chia Seed Pudding

Talk about creamy, light, and refreshing! Especially when you add fresh fruit!

I love this flavor because it’s not overly sweet but it’s satisfying enough when you want to indulge in something sweet.

Especially if you’re trying to limit your intake on the super sugary stuff.

The coconut milk is what provides that creamy texture while the almond extract supplies the flavor.

Hope you enjoy it!


Coconut Almond Chia Seed Pudding

Servings: 4-6

What you need:

  • 2 cups Coconut milk
  • 1/3 cup Chia seeds
  • 1/2 tsp Almond extract
  • 1 Tbsp Honey

(Side note: a can of coconut milk is only 1 and 1/3 cup so if don’t feel like opening a new can of coconut milk just add regular milk. As long as it equals 2 cups)

Steps:

  1. Mix all ingredients into a bowl
  1. Store chia mix into an airtight container and allow the pudding to sit overnight
  1. Serve with fresh fruit

Enjoy!

Brown Sugar And Butter Baked Peaches

I received the grocery store ad the other day and as I’m looking it over making my grocery store list it said it was national peach month! Say what! Who knew. So of course they had peaches for sale.

(Tips for grocery store shopping in link below)

9 Grocery Shopping Tips, For A Stress-Free Trip Every time

Without knowing it was national peach month the grocery store ad reminded me that I already had peaches!

I wouldn’t mind getting more peaches on my next trip but I needed to do something with these ones that were now sitting on my counter. So I decided to make baked peaches!

If you have peaches on hand and want a quick easy dessert let this be your go to!

It’s very simple to make and very delicious. Especially when served with vanilla ice cream. Yum!

Brown Sugar And Butter Baked Peaches

Servings 8

What you need:

4 ripe peaches

8 Tablespoons of salted butter (NOT room temperature butter)

8 tablespoons of brown sugar

1/2 tsp on cinnamon

1/4 tsp of nutmeg

Steps:

Cut peaches in half and removes pits

Place a tablespoon of butter onto each peach half

Sprinkle 1 tablespoon of brown sugar onto each peach half

Combine nutmeg and cinnamon and sprinkle onto peaches

Bake in the oven at 350 for 15 to 20 mins or until peaches are soft (oven times may vary)

Serve with vanilla ice cream

Enjoy with loved ones!