What You Need:
1 loaf of French bread (Vienna bread is tasty with this recipe as well) cut in 1/2 inch slices
1 cup whole milk
2 tablespoons of sugar
2 teaspoons of vanilla extract
2 tablespoons of unsalted butter
4 beaten eggs
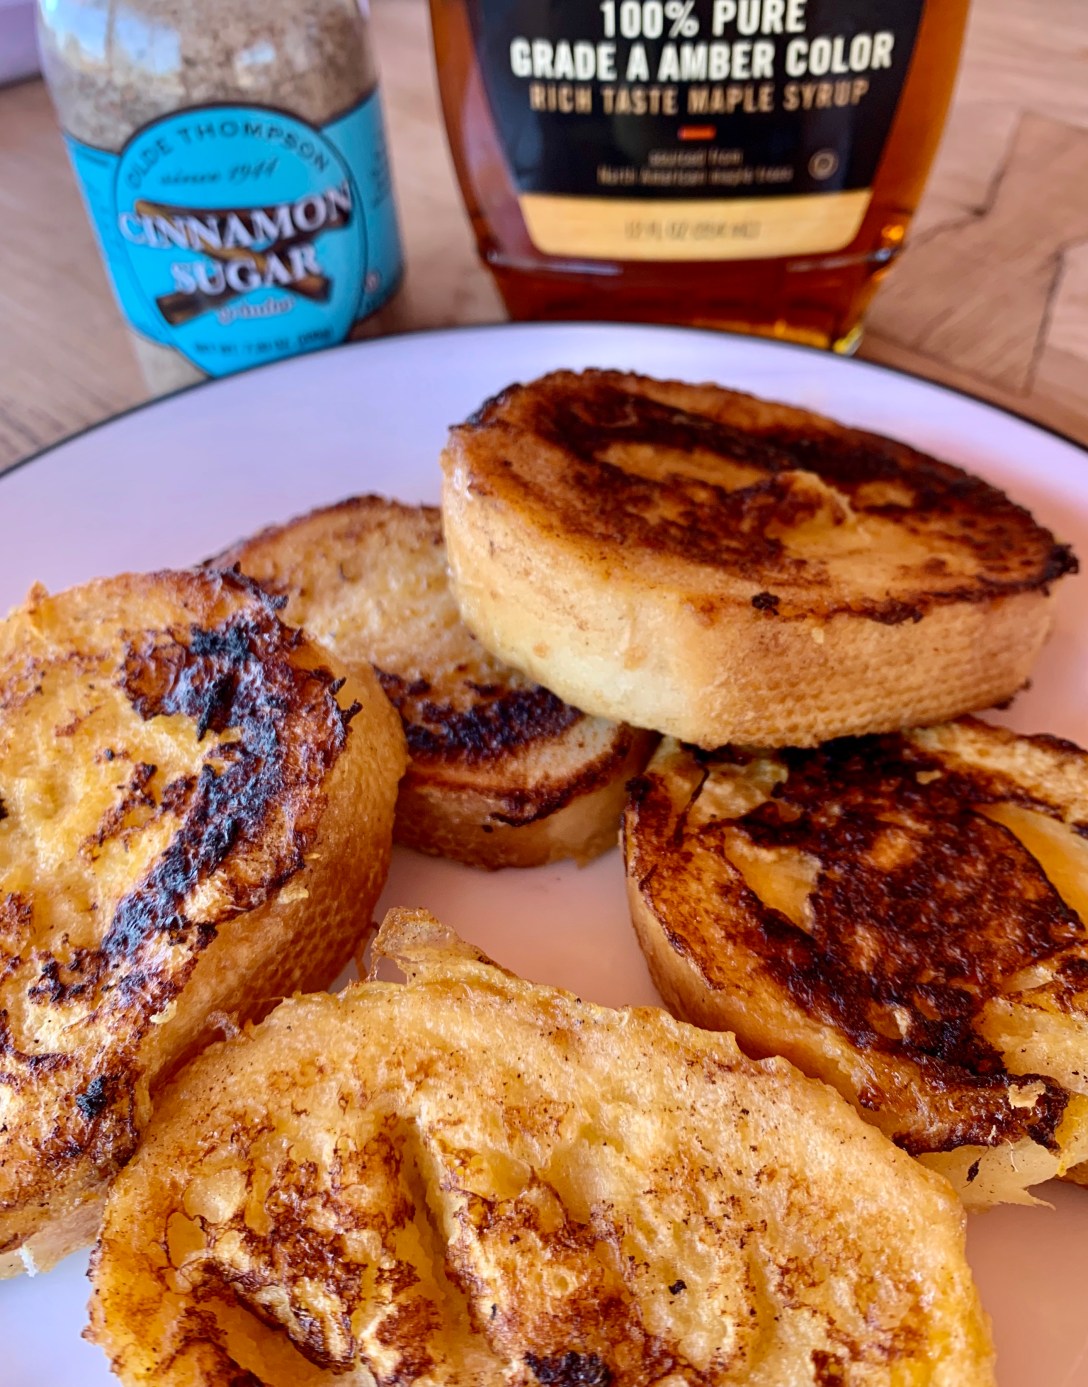
Cinnamon sugar spice, fresh fruit, and pure maple syrup for finishing – OPTIONAL (but truthfully, makes a huge difference!)
Steps:
1. Heat skillet to medium-high heat.
2. In a shallow bowl combine beaten eggs, whole milk, vanilla extract and sugar. Dip bread slices into egg mixture and allow a few moments to absorb the mixture on both sides of each slice.
3. Melt 1 tablespoon of butter on a hot skillet and begin your first batch of bread slices. 2-3 minutes on each slice of bread until golden.
4. Repeat step 3 with remaining butter and bread slices.
While warm spread softened butter on French toast. Sprinkle cinnamon sugar and serve with pure maple syrup and fresh fruit.
Enjoy!


 Easy, yummy, and quick!